Ok, So I know a beef steak is not exactly wild game, however the technique I am about to describe is my new favorite way of cooking …Well, pretty much any meat.
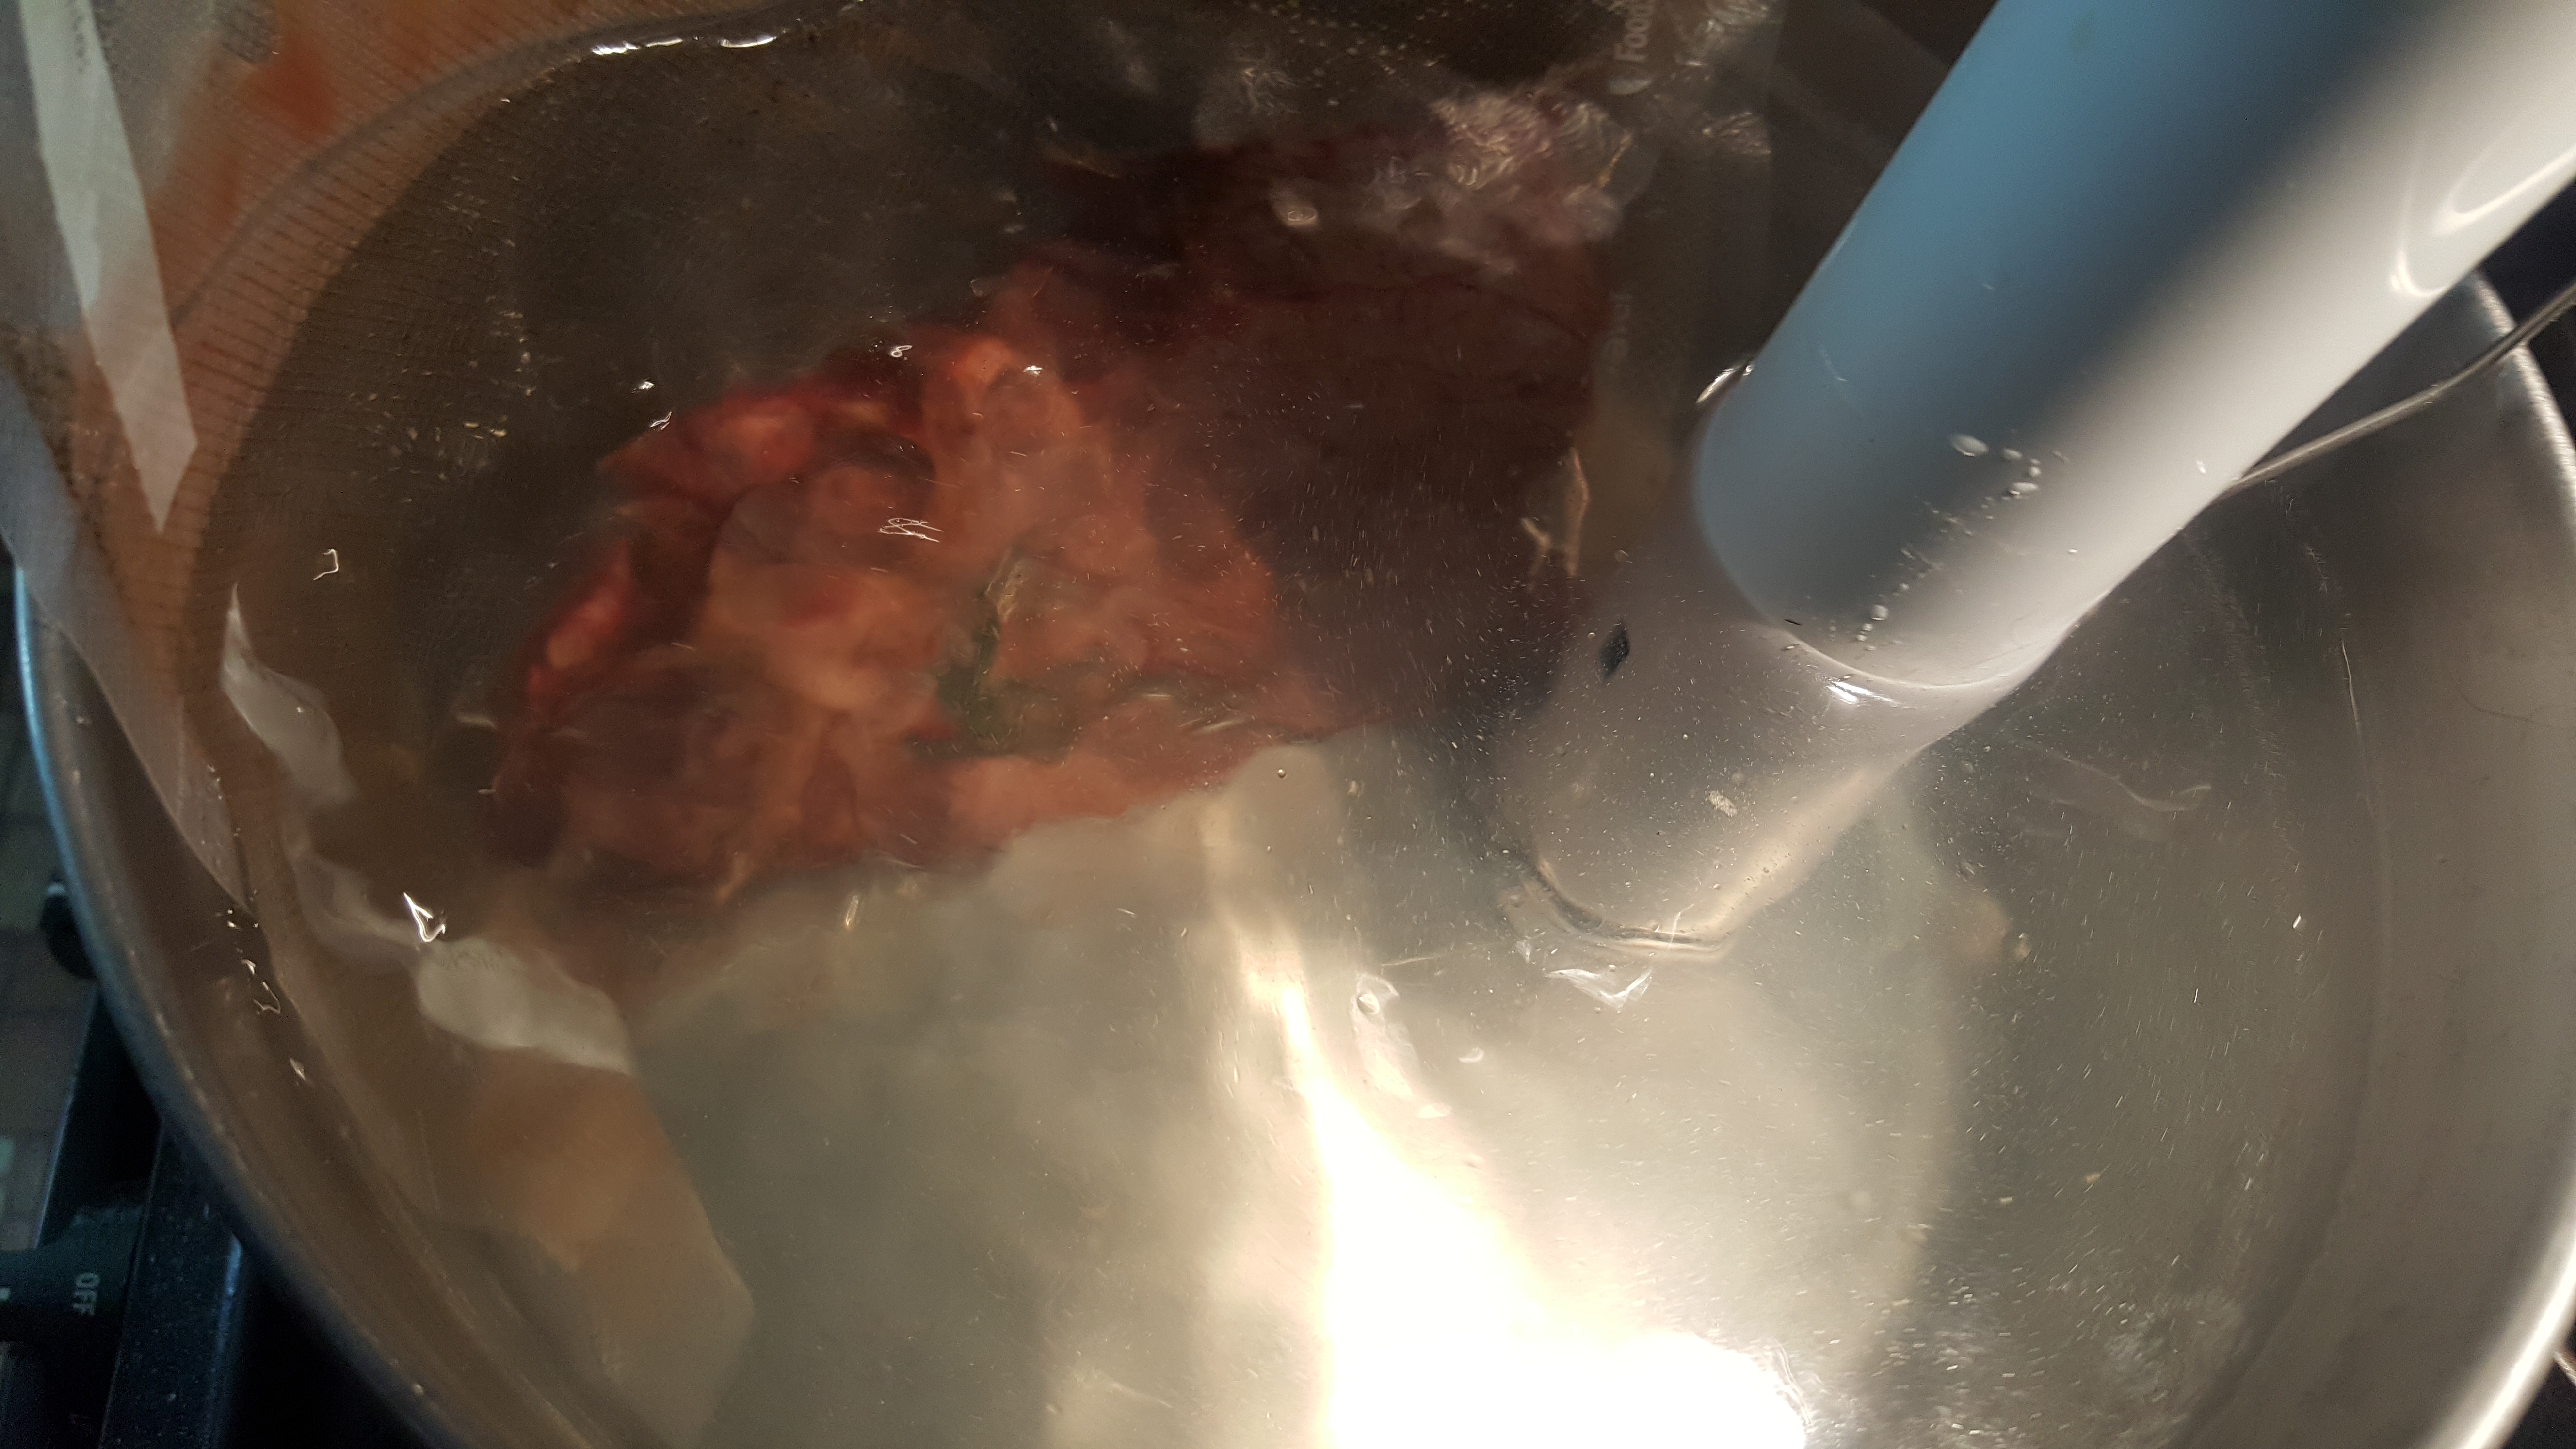
What is this technique? It’s called Sous Vide (sue-veed) which means under vacuum. The way this typically works is you take your cut of meat, vacuum seal it in a ziplock bag hence, under vacuum, though this is not exactly necessary. You can use a ziplock bag and get as much air out as possible, the important thing is that your food sinks. Sinks you ask? Yes.. Here is the essence of Sous Vide, you submerge the sealed package in a water bath that’s temperature is precisely controlled by an immersion cooker. The water is kept at the desired temperature for the duration of the cooking process and because of this, it is impossible to burn your food. However, it can still be overcooked it if left in for (far) too long but we’ll get to that. If you have ever been to a restaurant and wondered how is it your family each can order a different type of meat and have it all come out at the same time and all be cooked properly, well there is a good chance it’s because the food was cooked Sous Vide.
So what is an immersion cooker? It is a precision device with a heating element that keeps your water at the exact temperature you set it at. There are several out there on the market, the Joule, and Anova to name a couple. I went with the Joule as it is able to regulate the temperature of 10 gallons of water. It is connected, so you are able to start and stop it from anywhere and has an excellent app. It was also designed by the excellent people over at Chefsteps. Besides, let’s face it I’m a technology geek and it’s just cool.

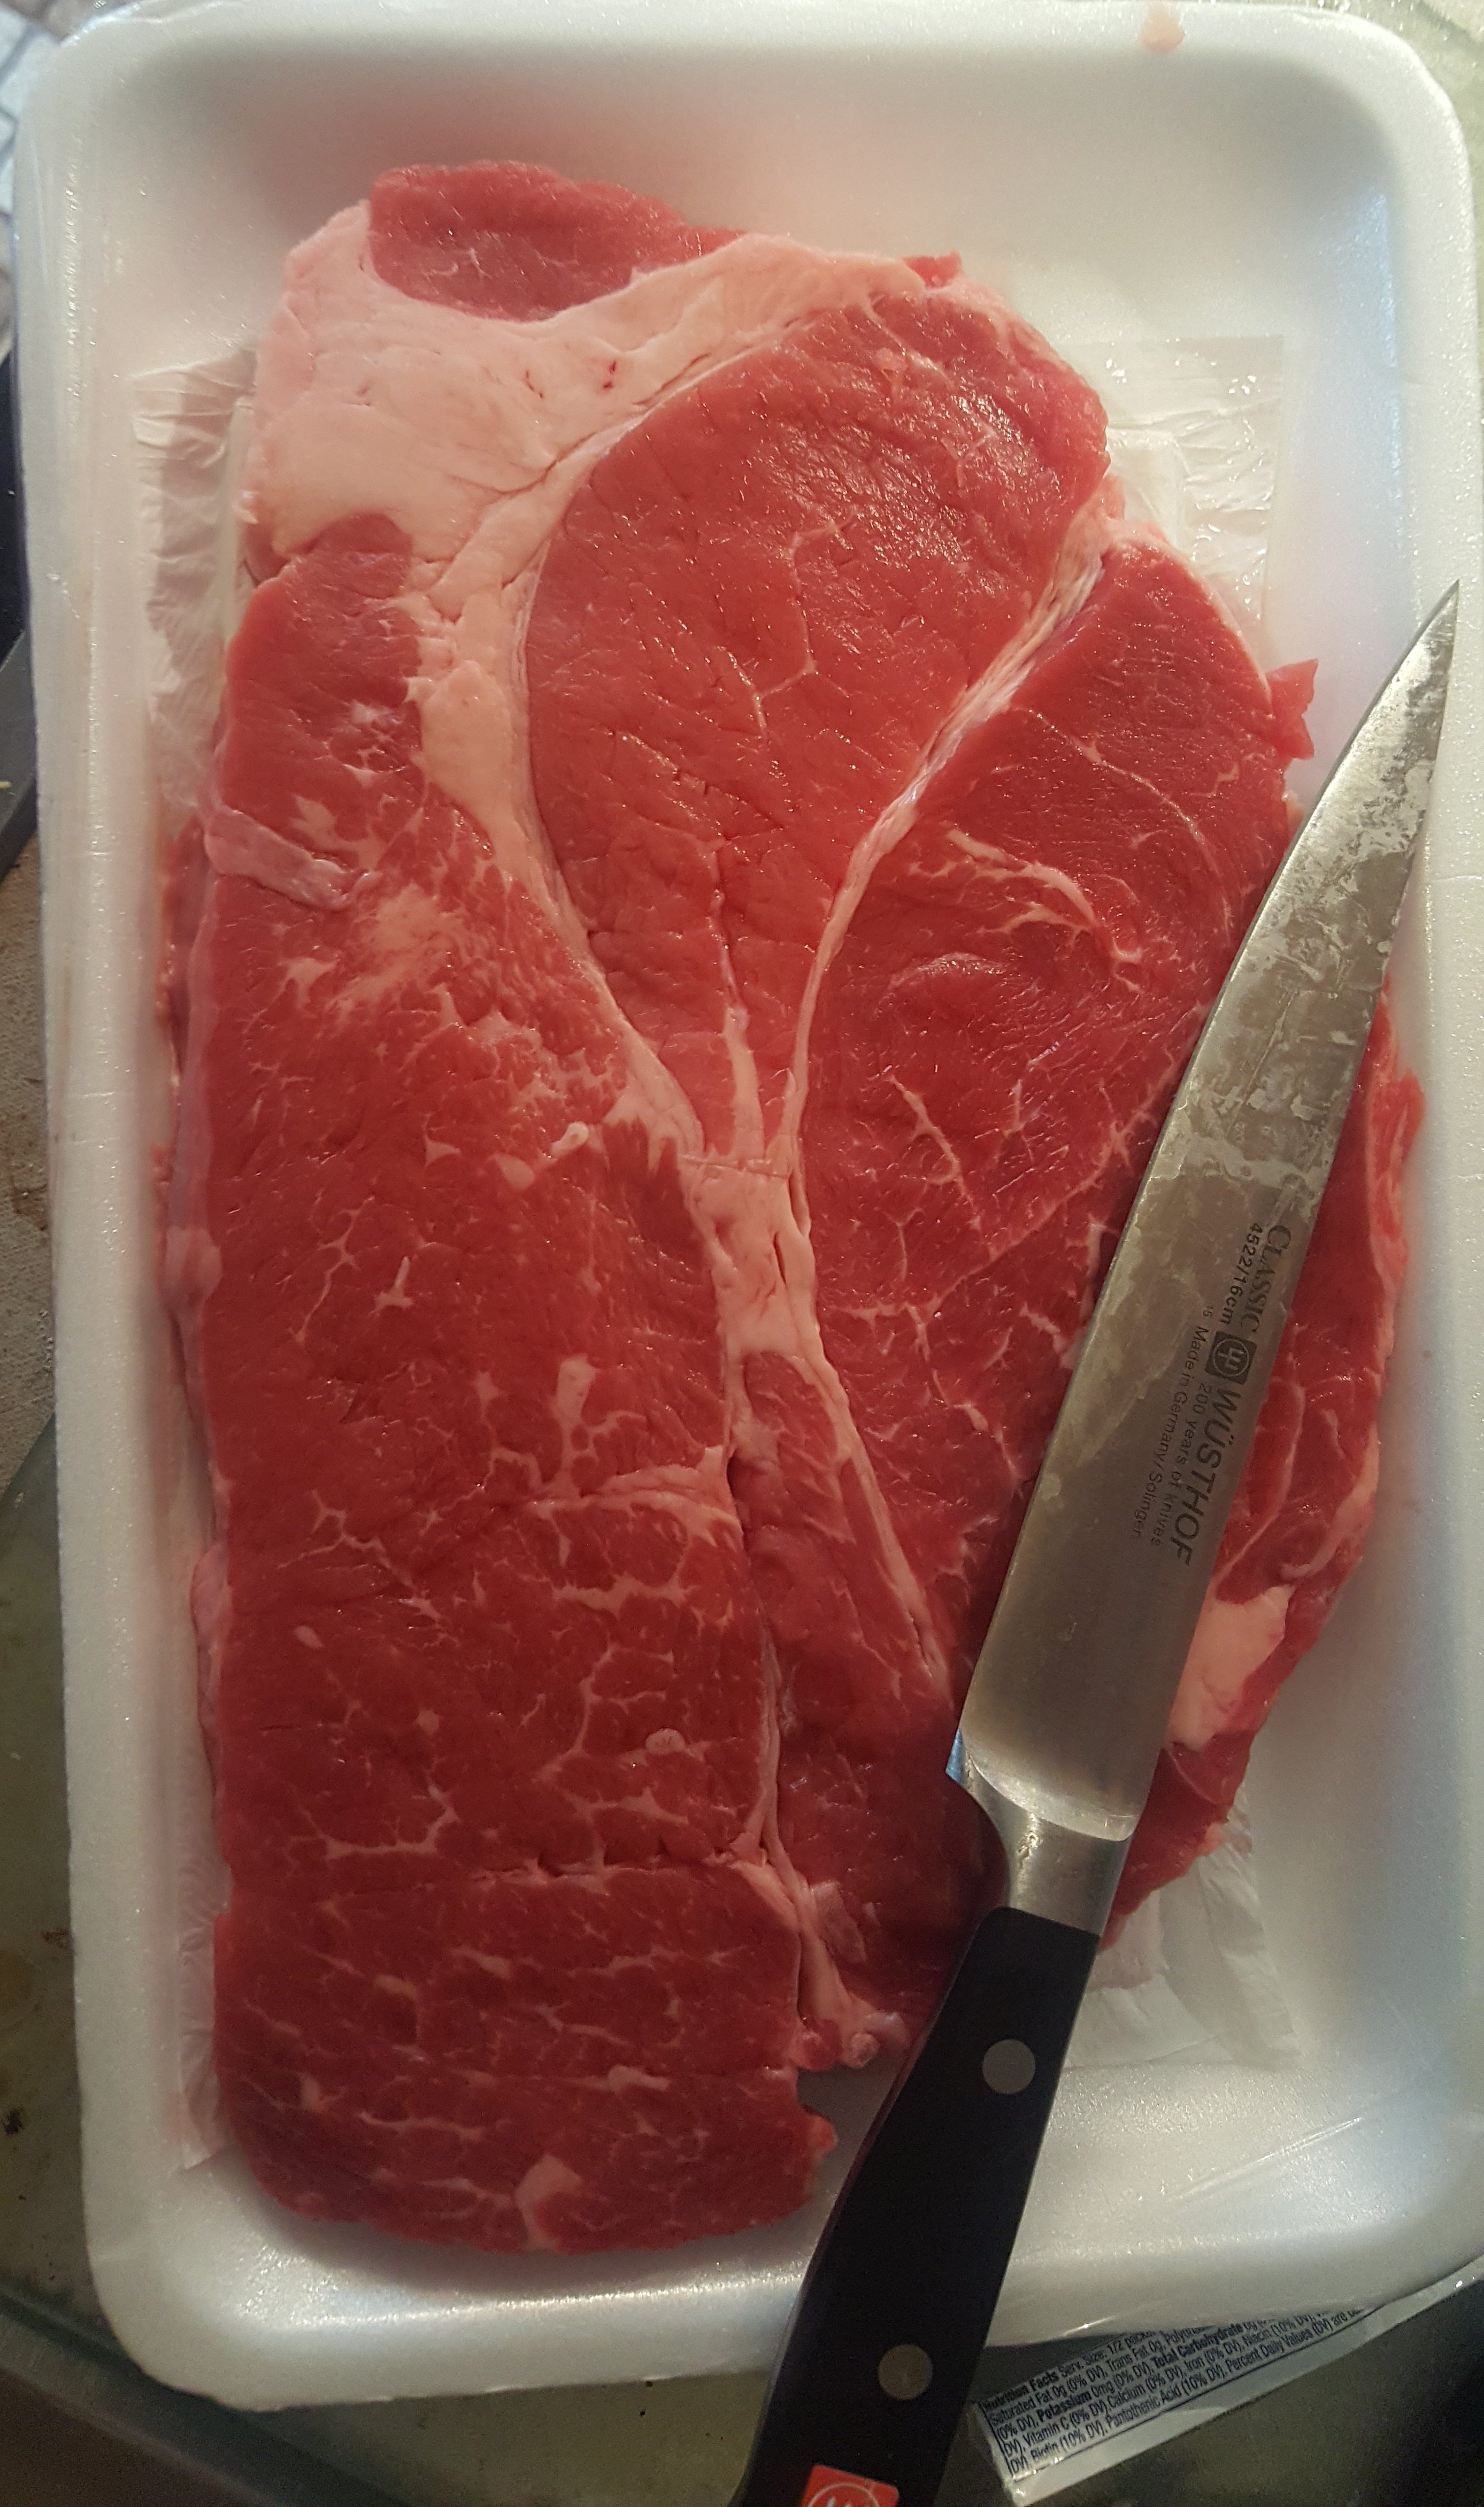
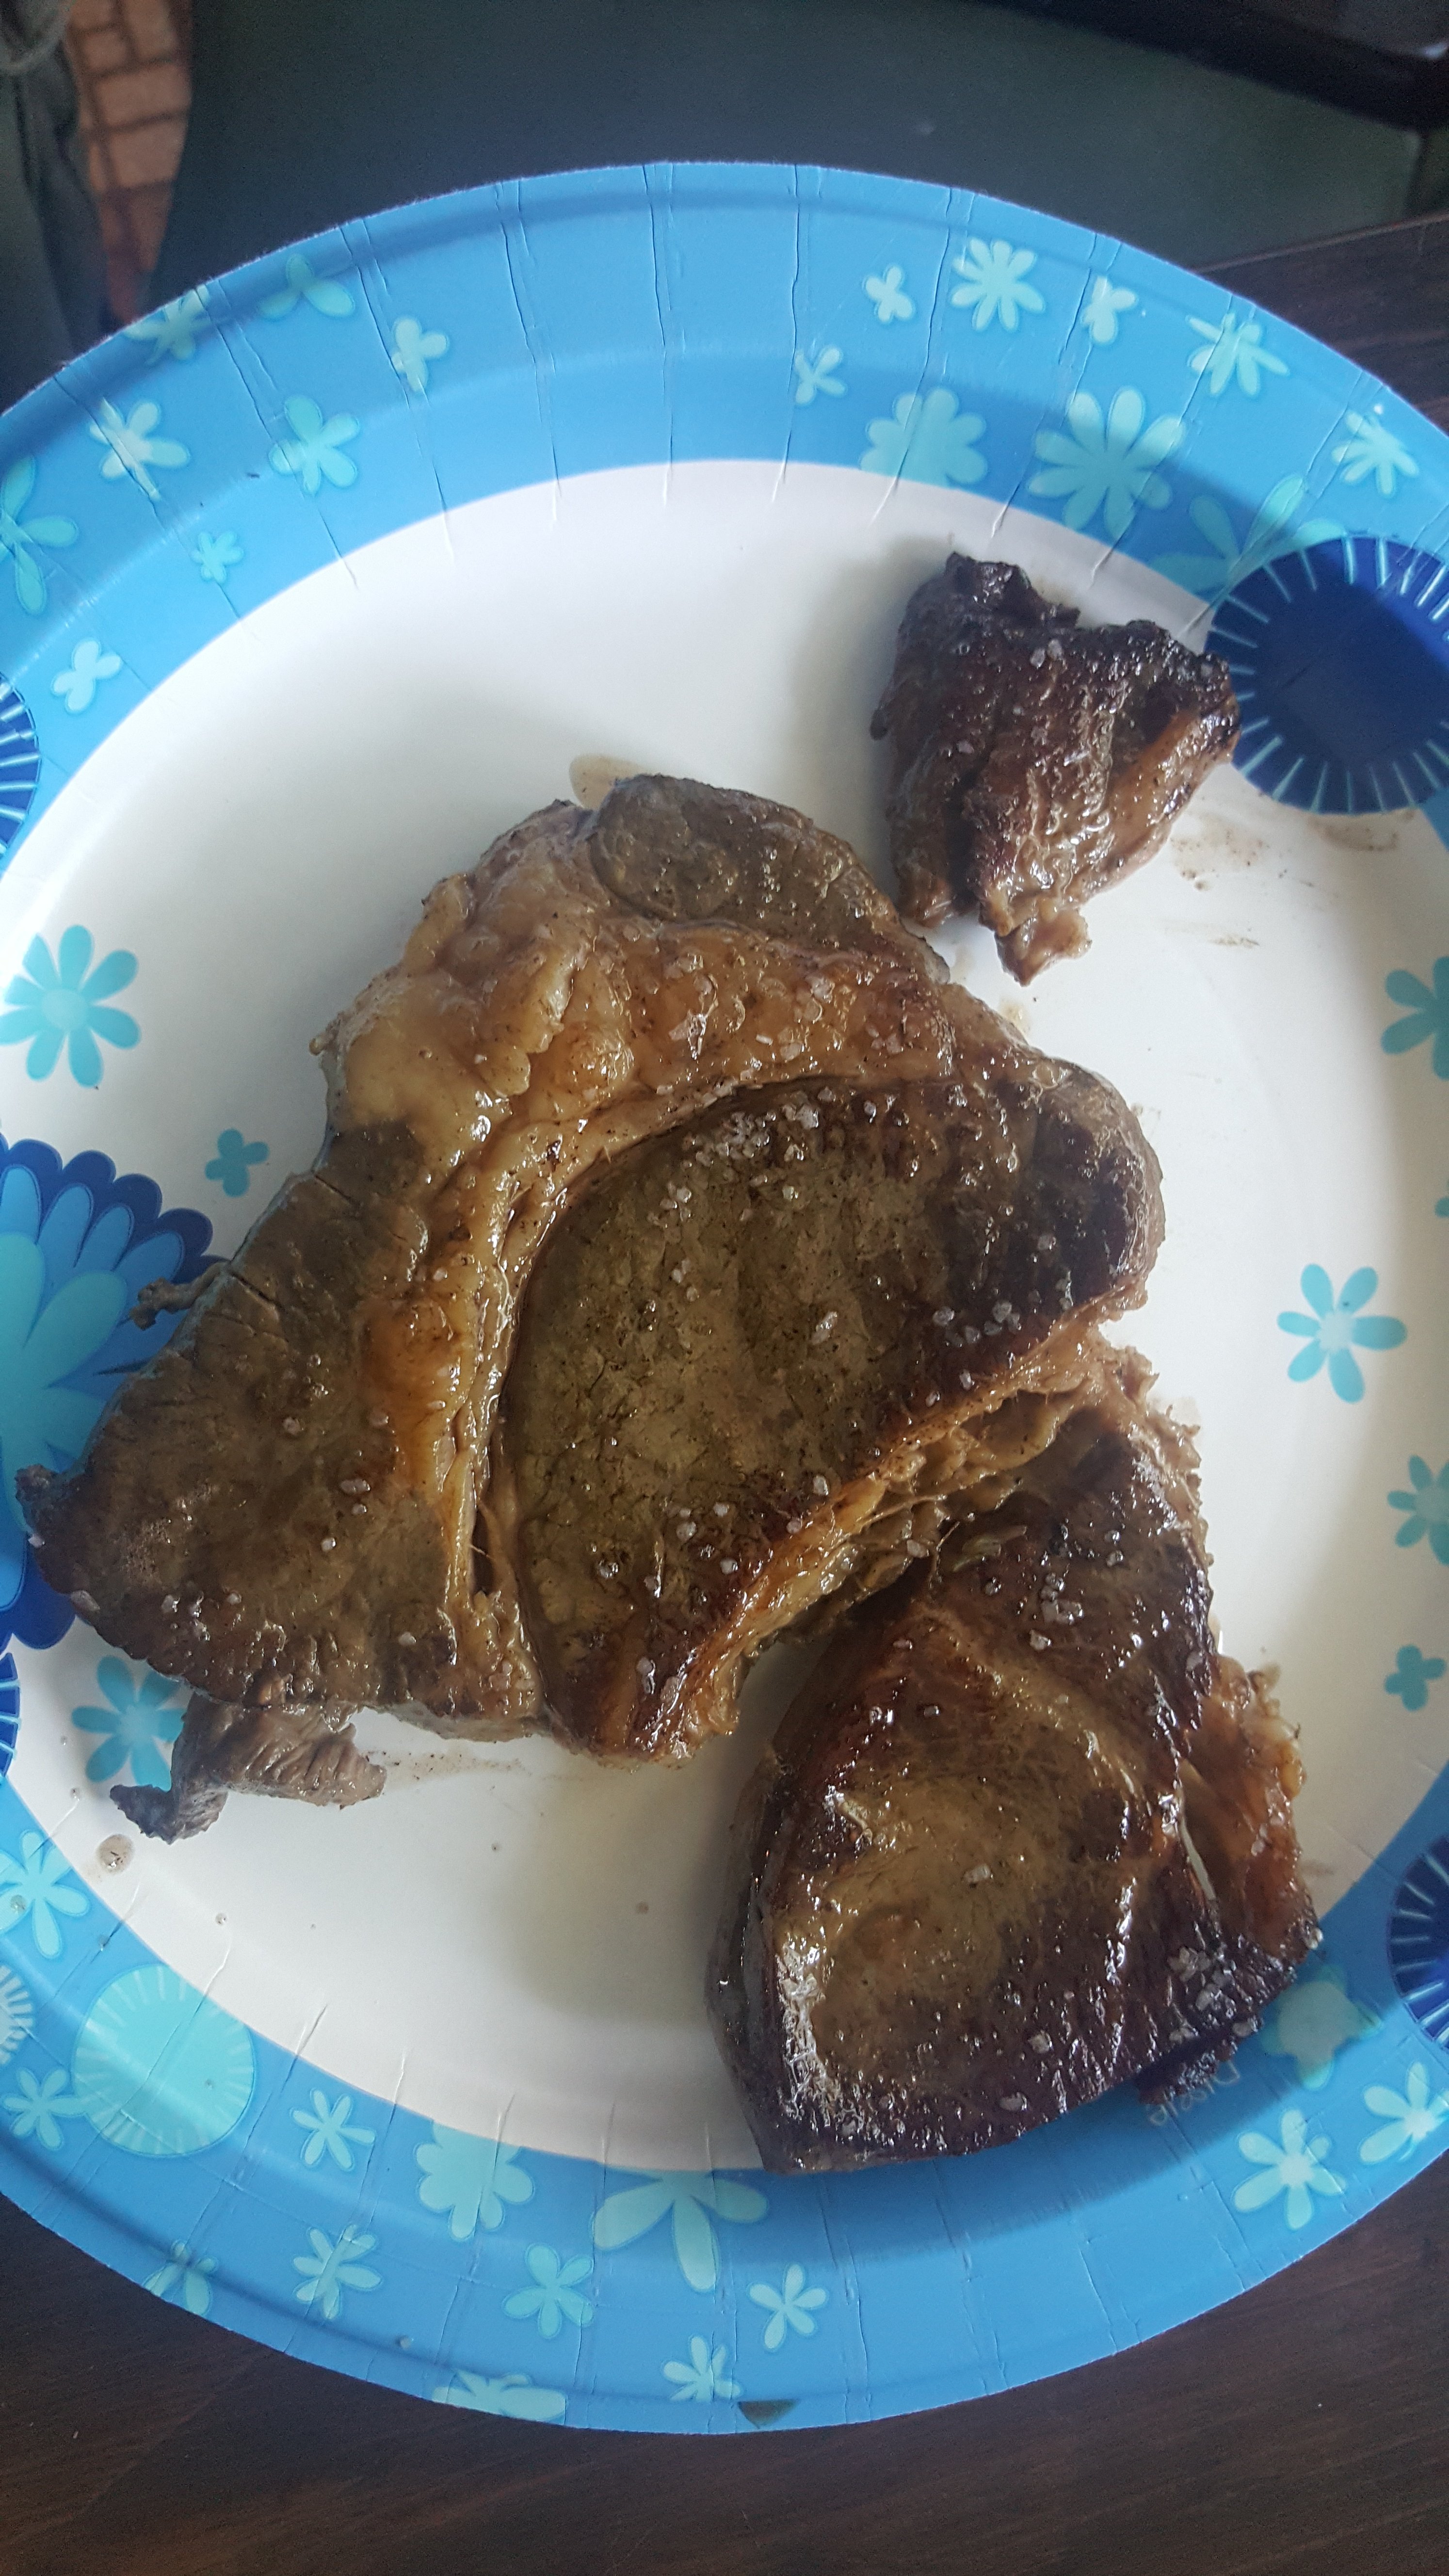
For this article, I chose a cheap $5 chuck steak which are known to be notoriously tough and hard to deal with.
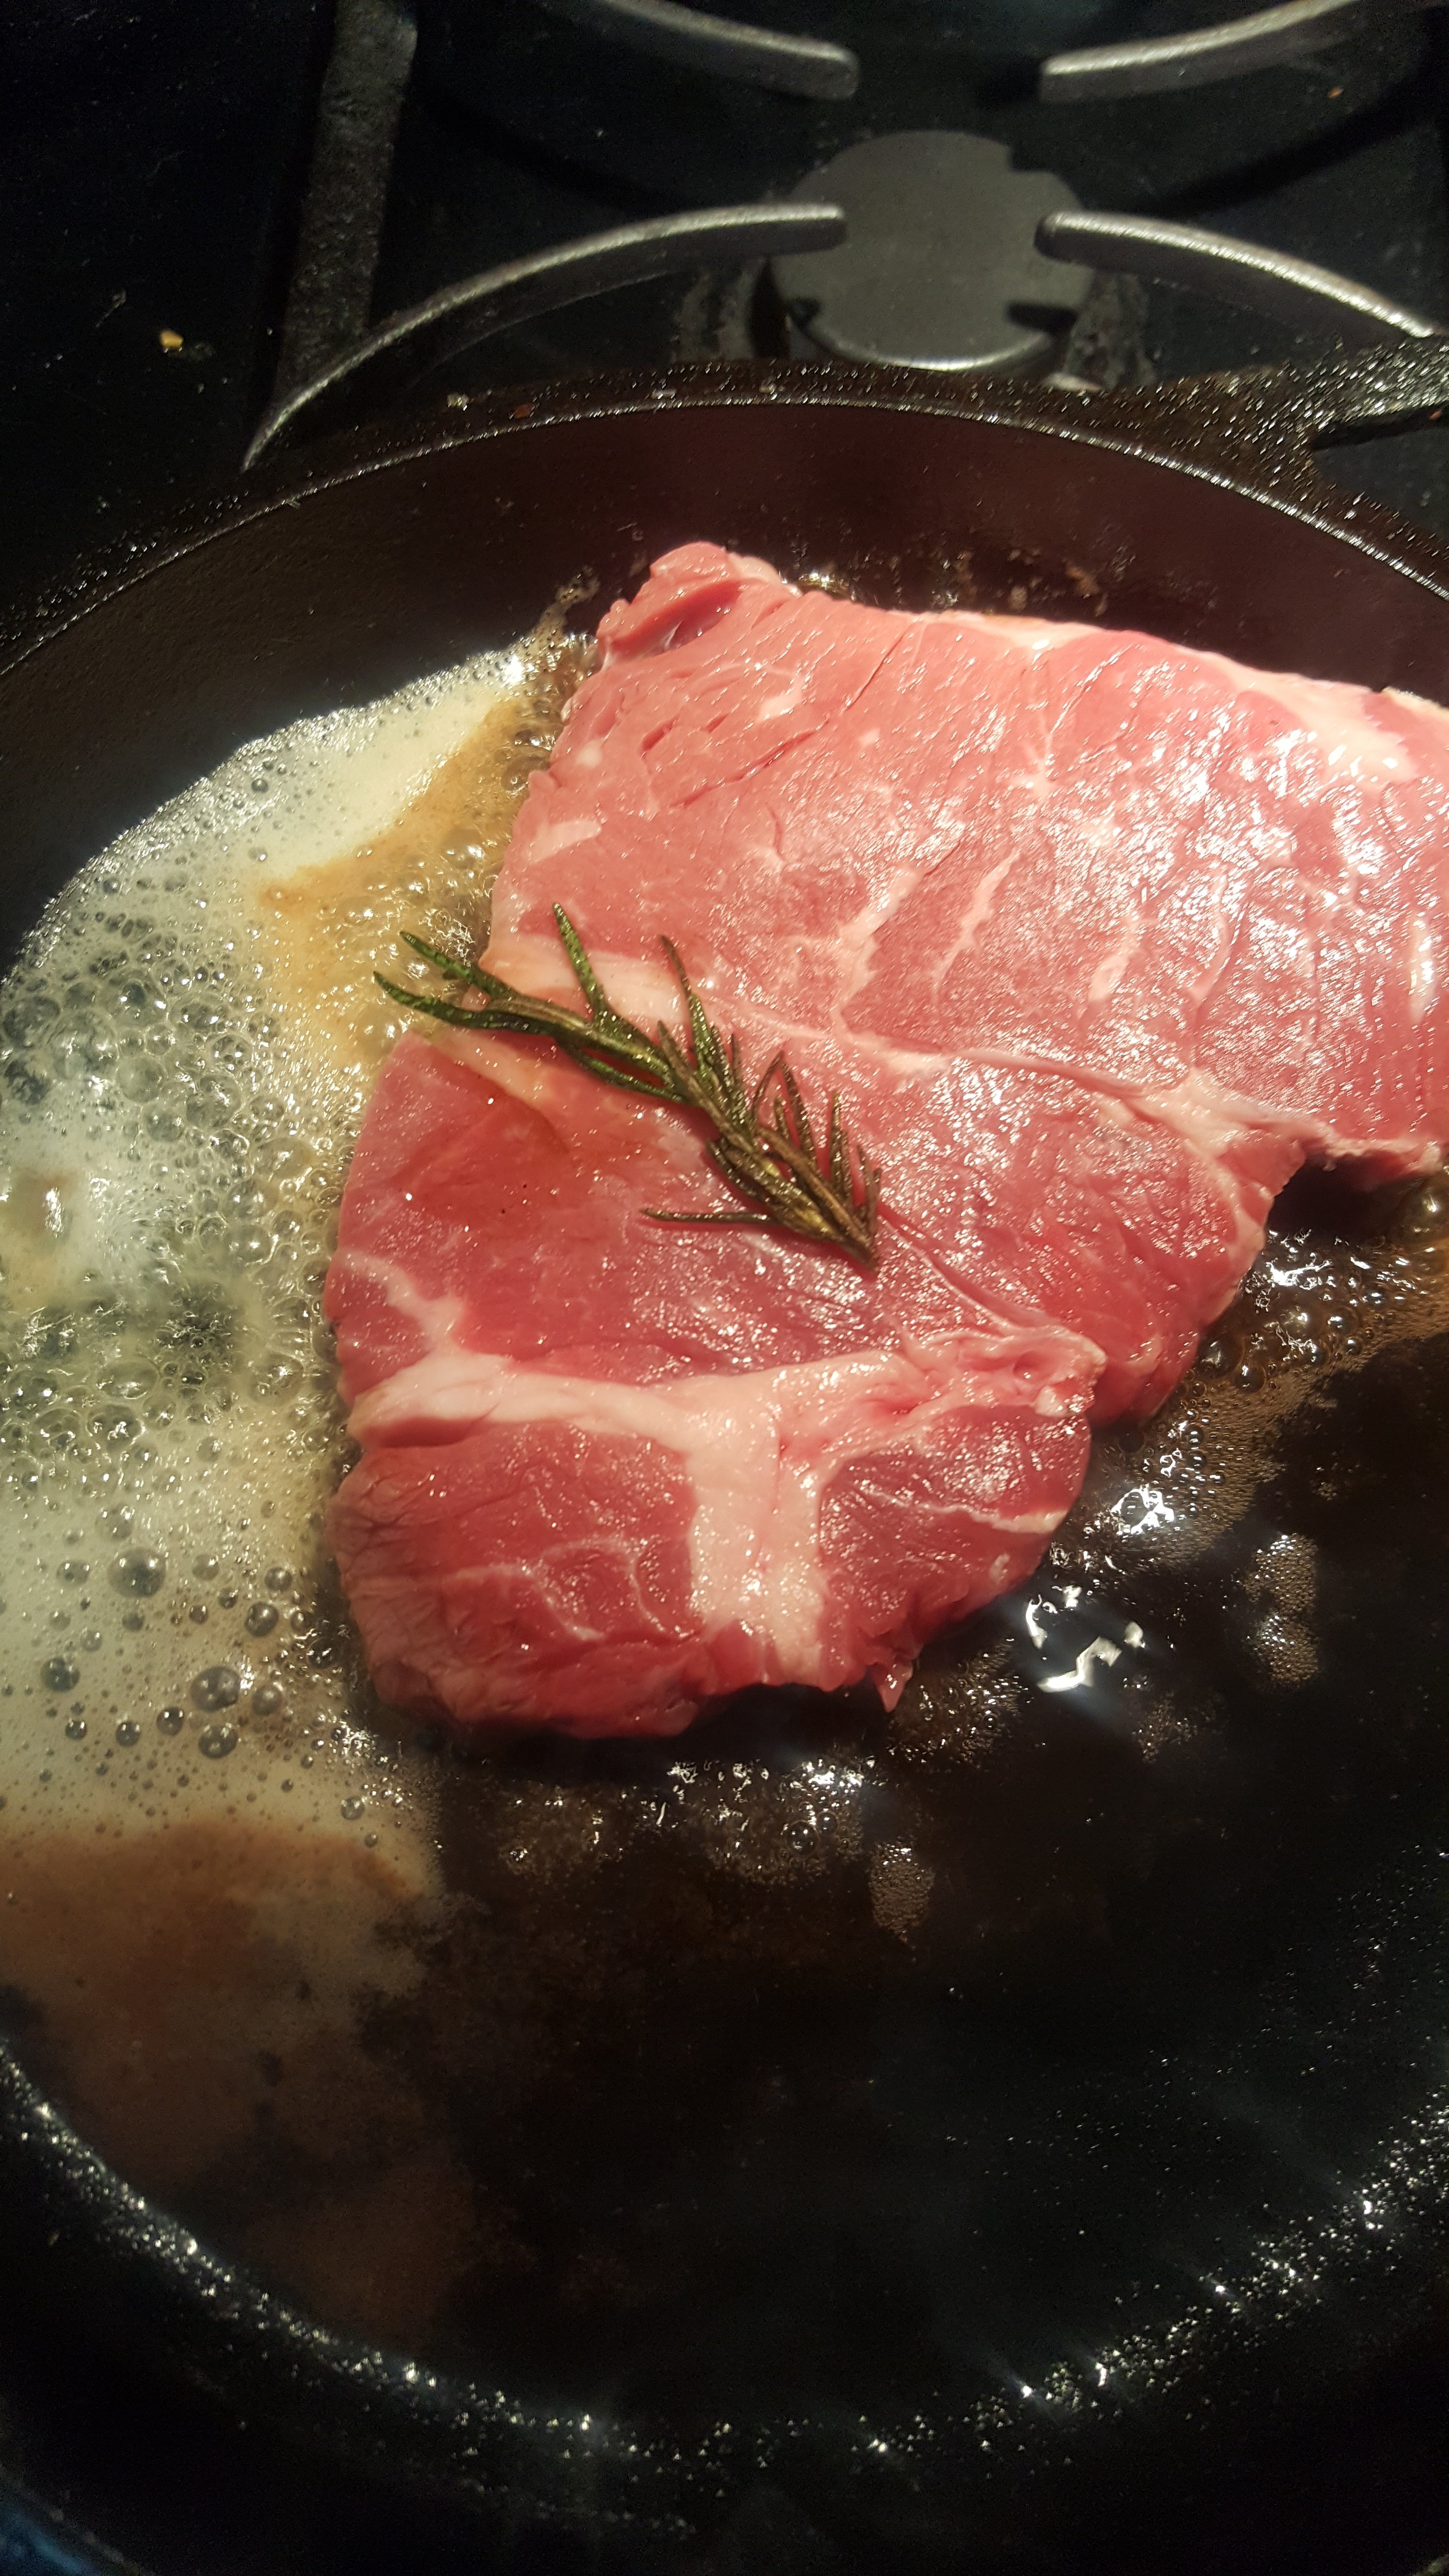
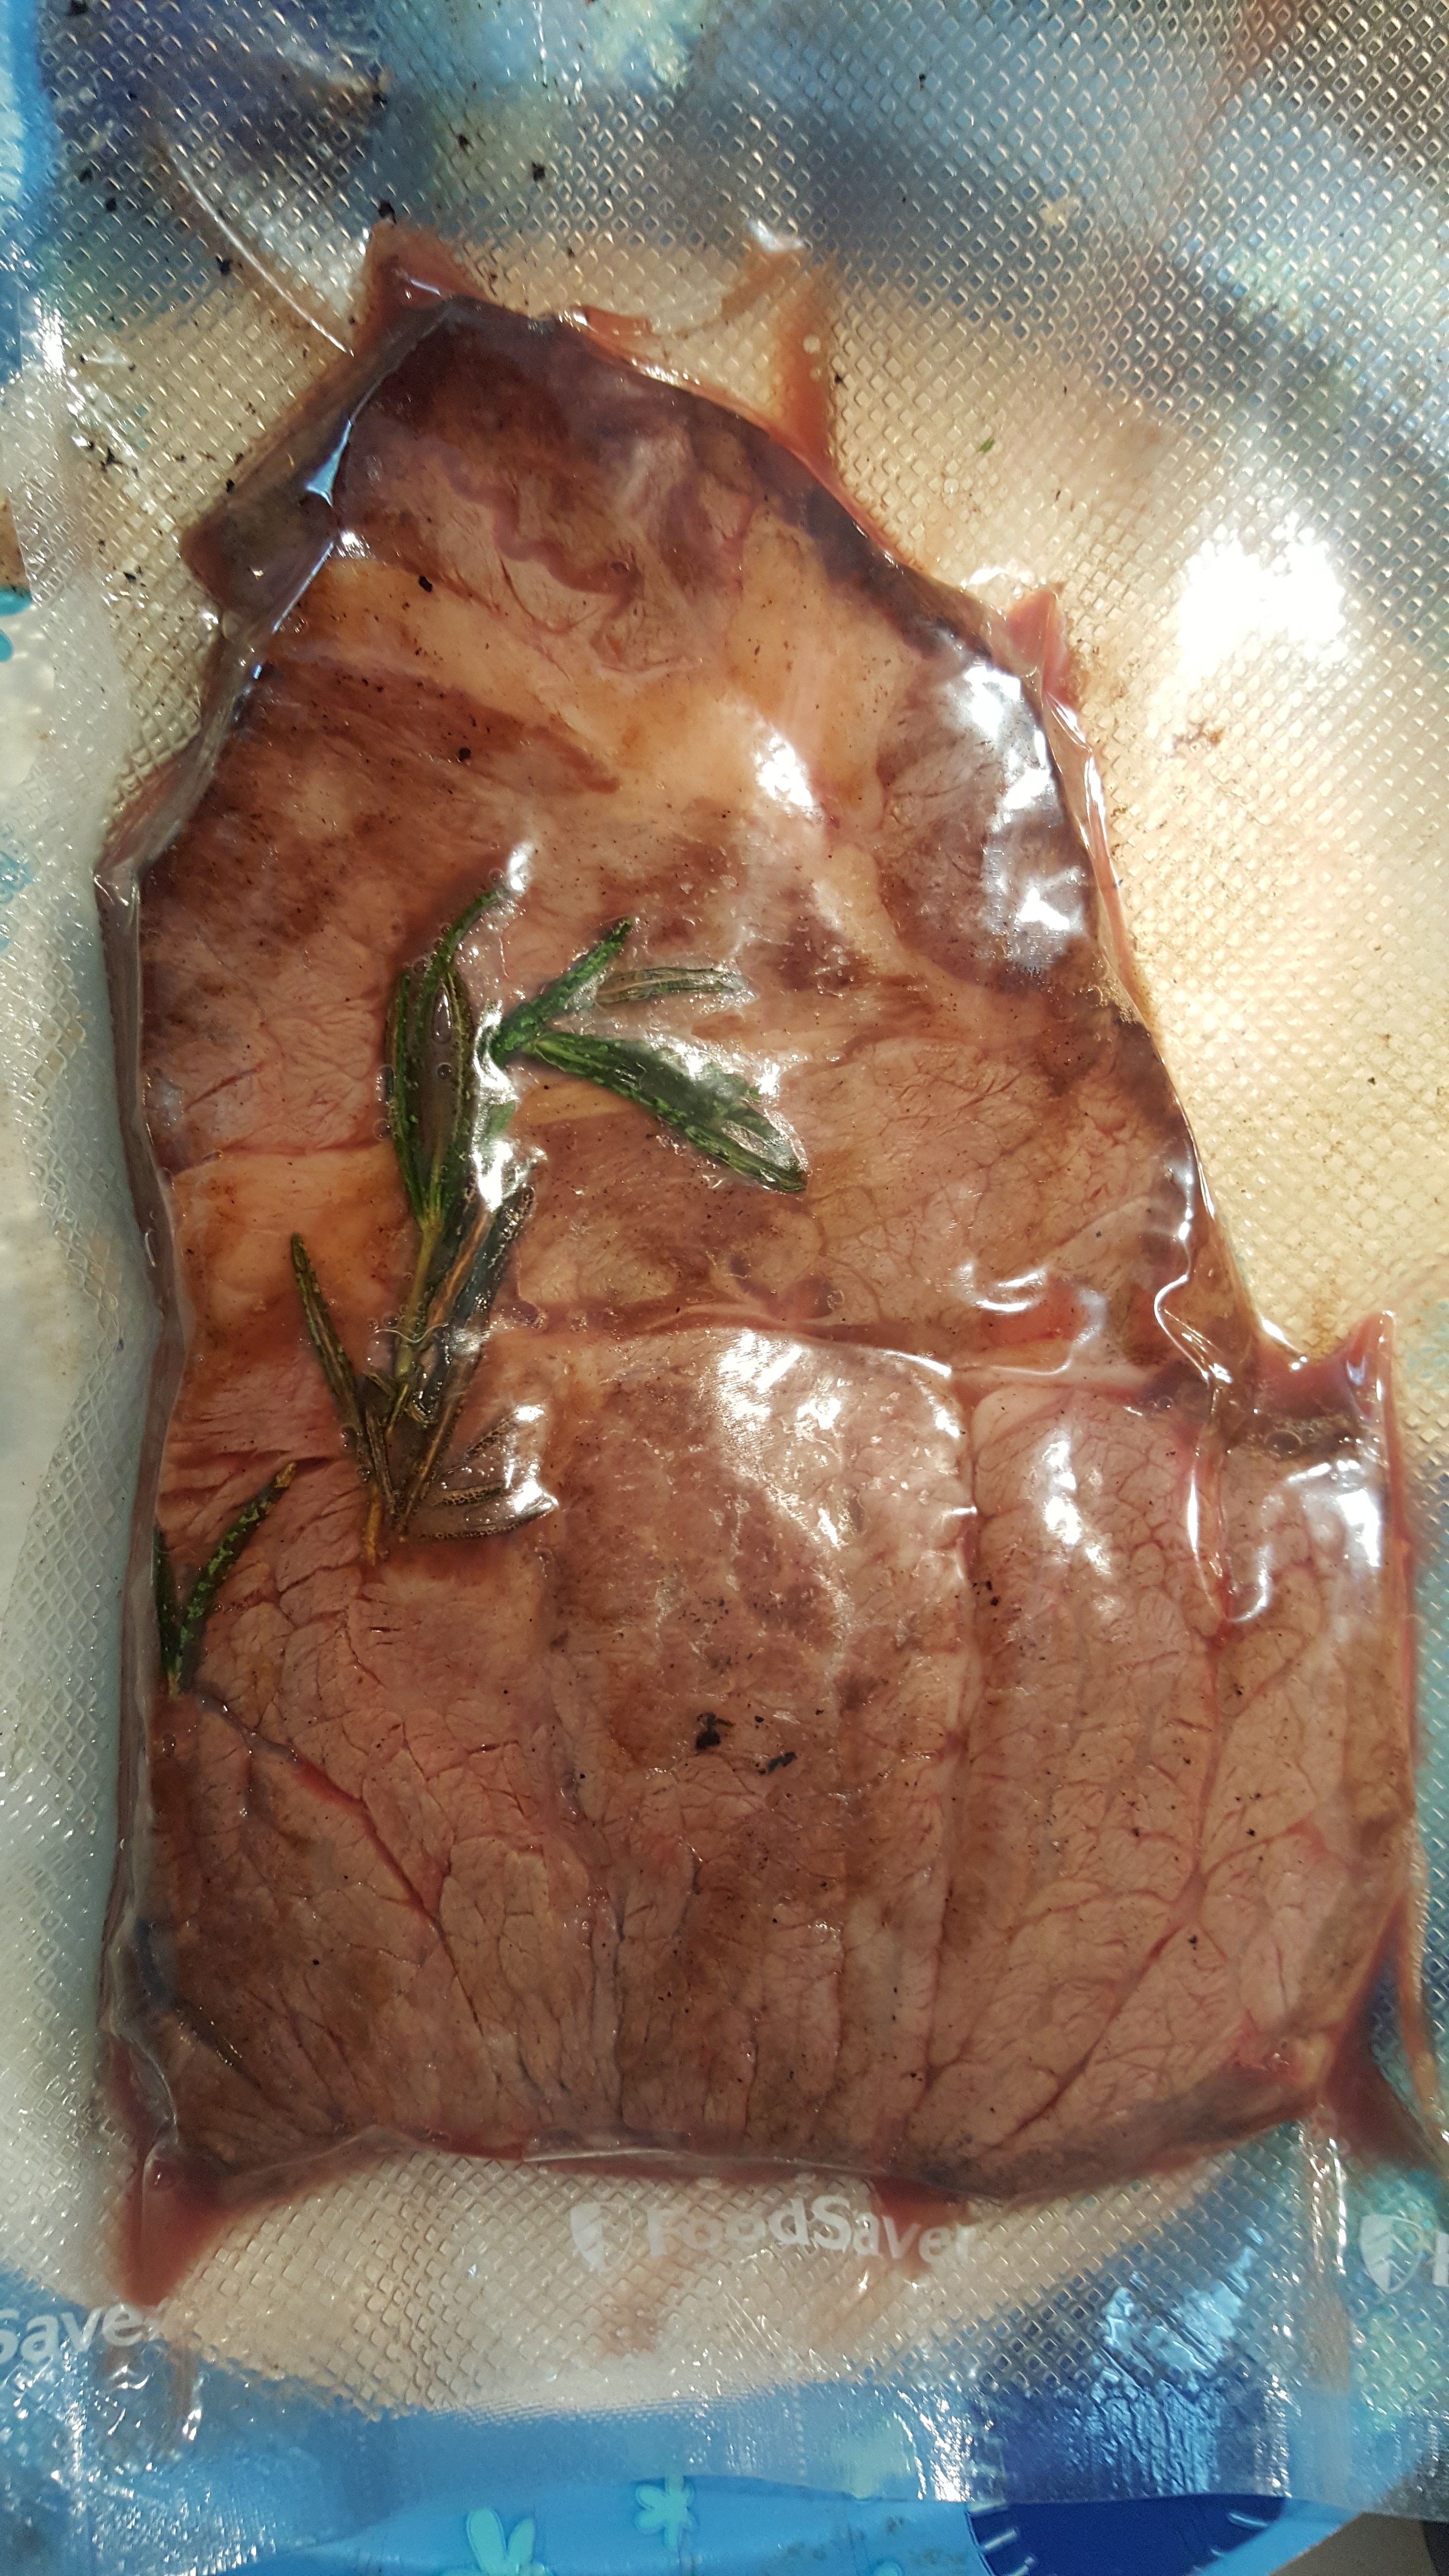
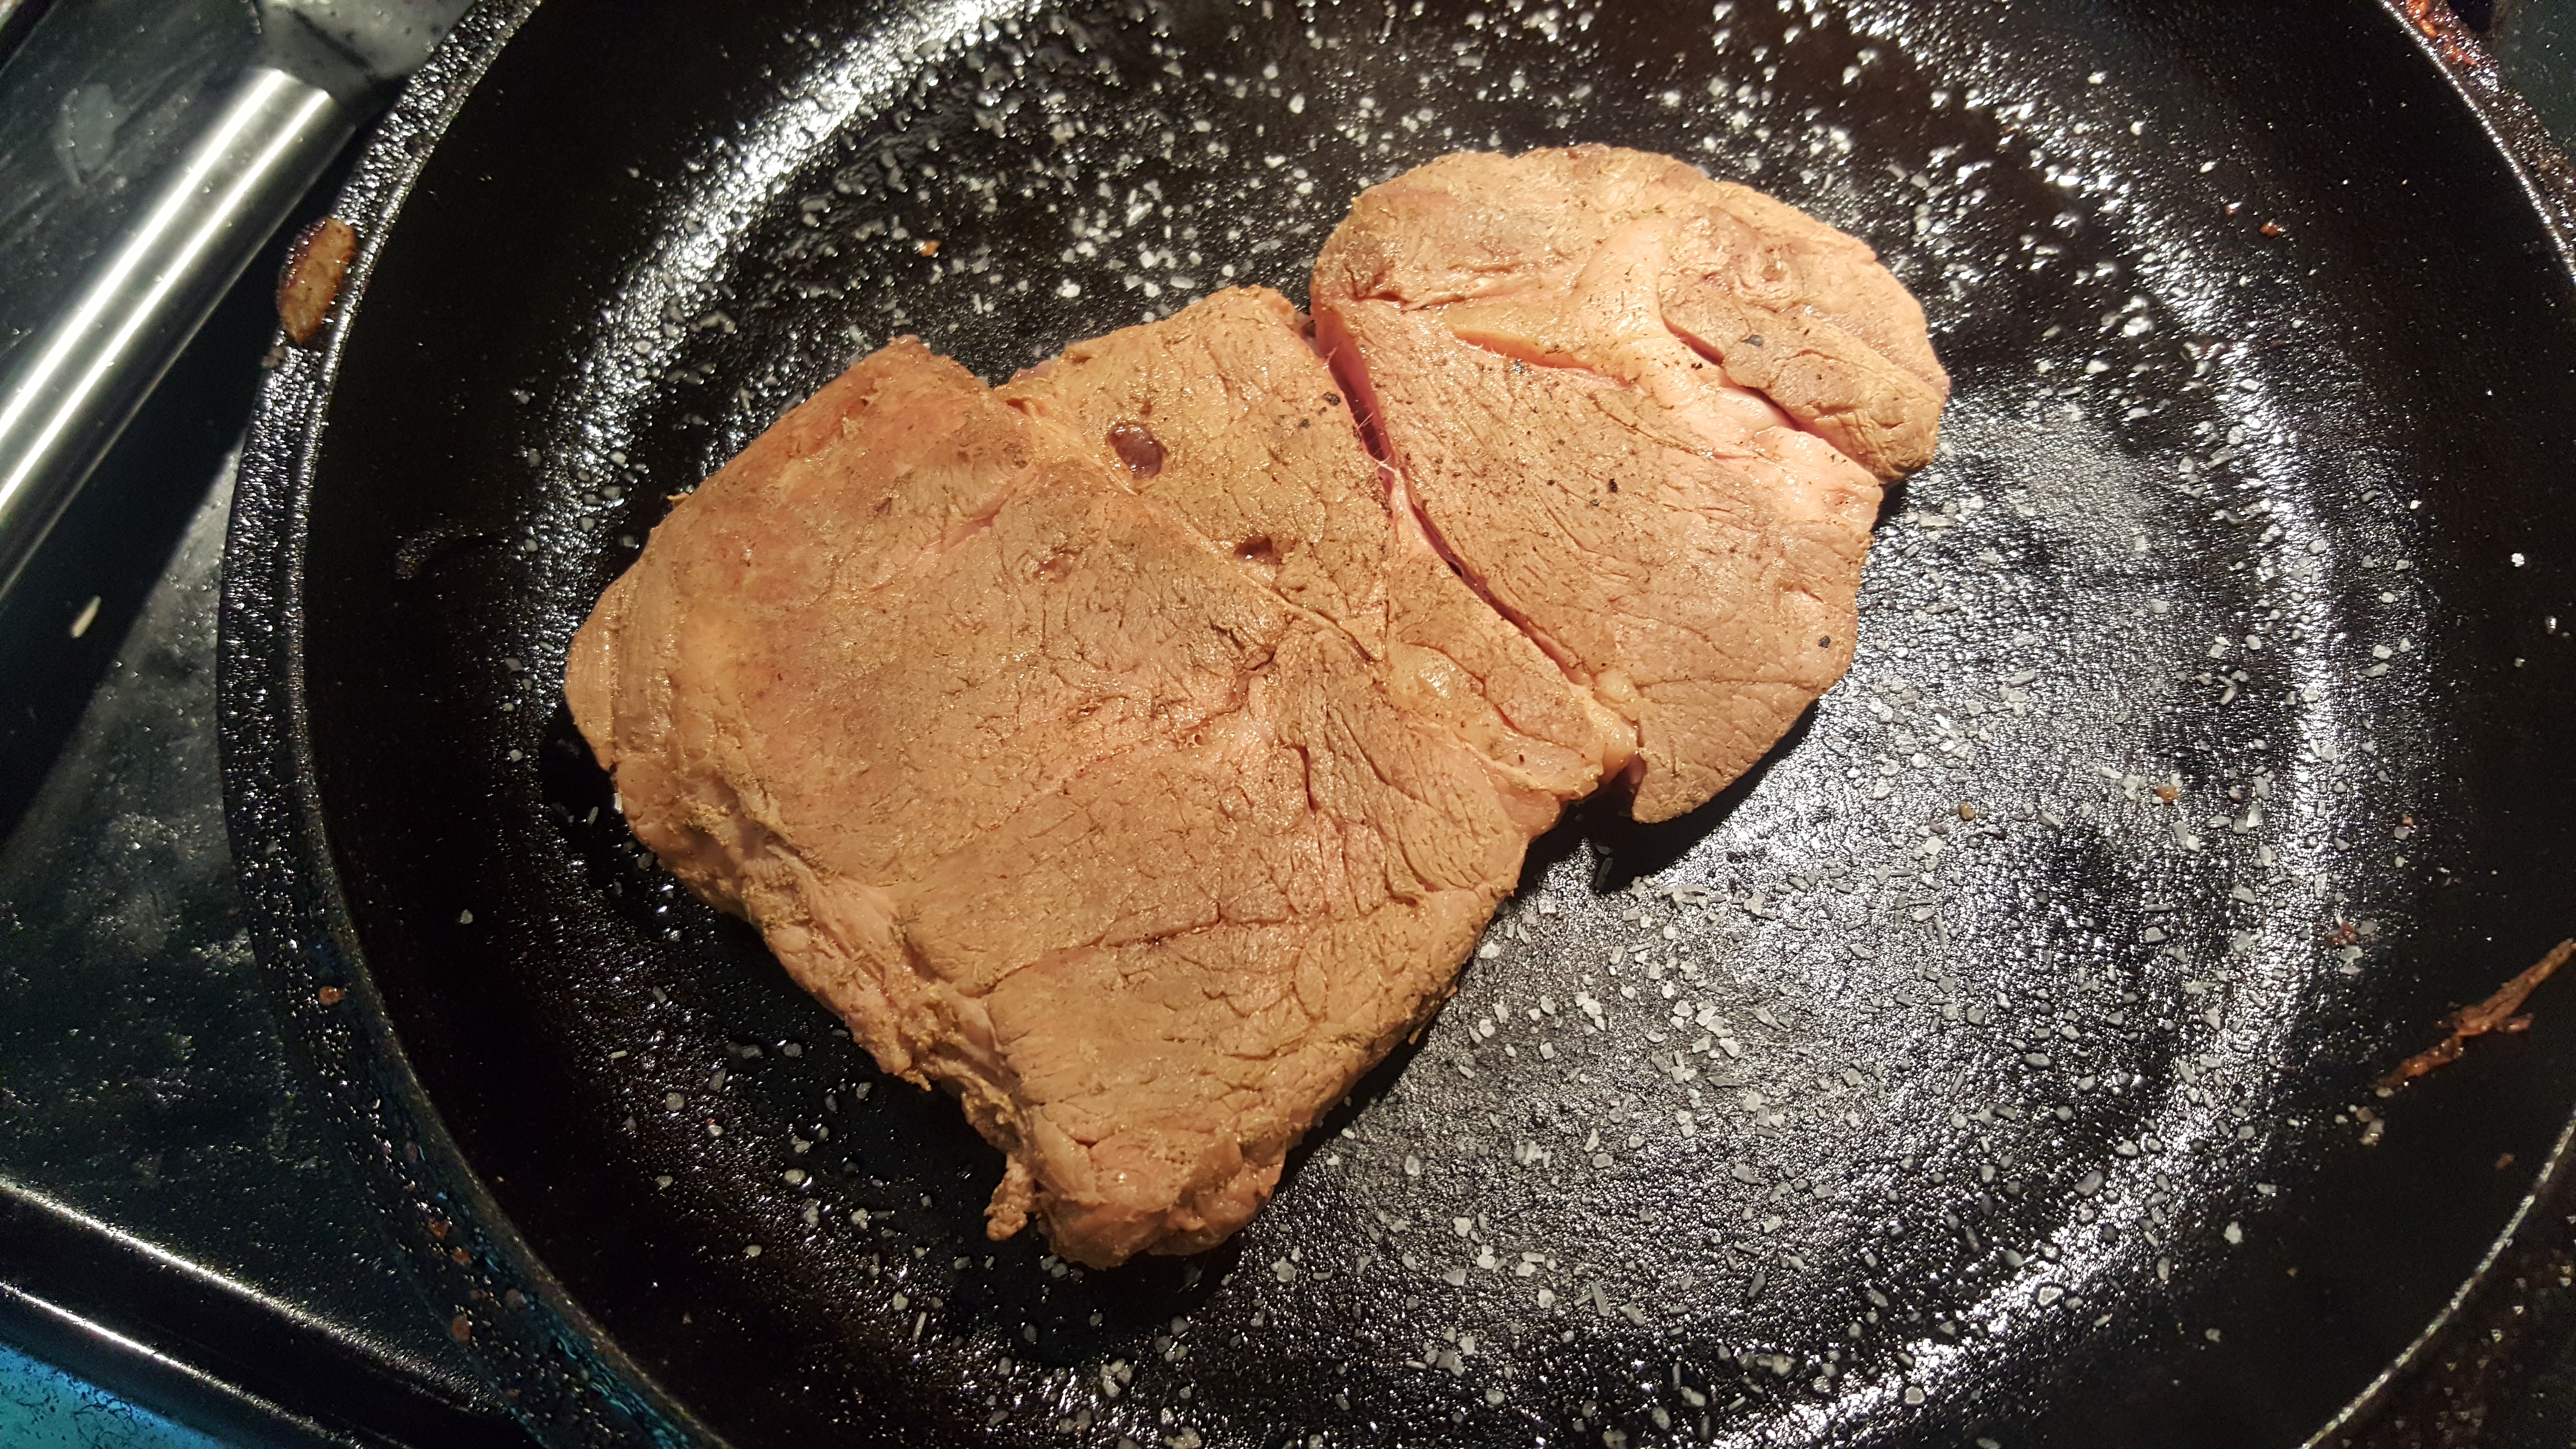
First, I gave the steak a bit of a sear in a super-hot cast iron skillet on both sides, with salt-free butter and a sprig of rosemary. Just a quick sear on each side, maybe 30 seconds. Enough to get a little caramelization. Some people choose to wait to do this until after the meat is sous vide (called finishing). I have tried it only before the Sue Vide, only after, and both before and after and found, for me, that both before and after produces the best results. I feel giving the meat a quick sear before bagging it and then cooking it incorporates the flavor complexities produced when caramelizing into the meat. I then add the meat, the salt-free butter (it is important it’s salt-free as salt will draw all the moisture out of your meat) the sprig of rosemary, and a dash of liquid smoke to the vacuum bag. Seal the bag and put it in a bath with the Joule at 131 Degrees for 36 hours.
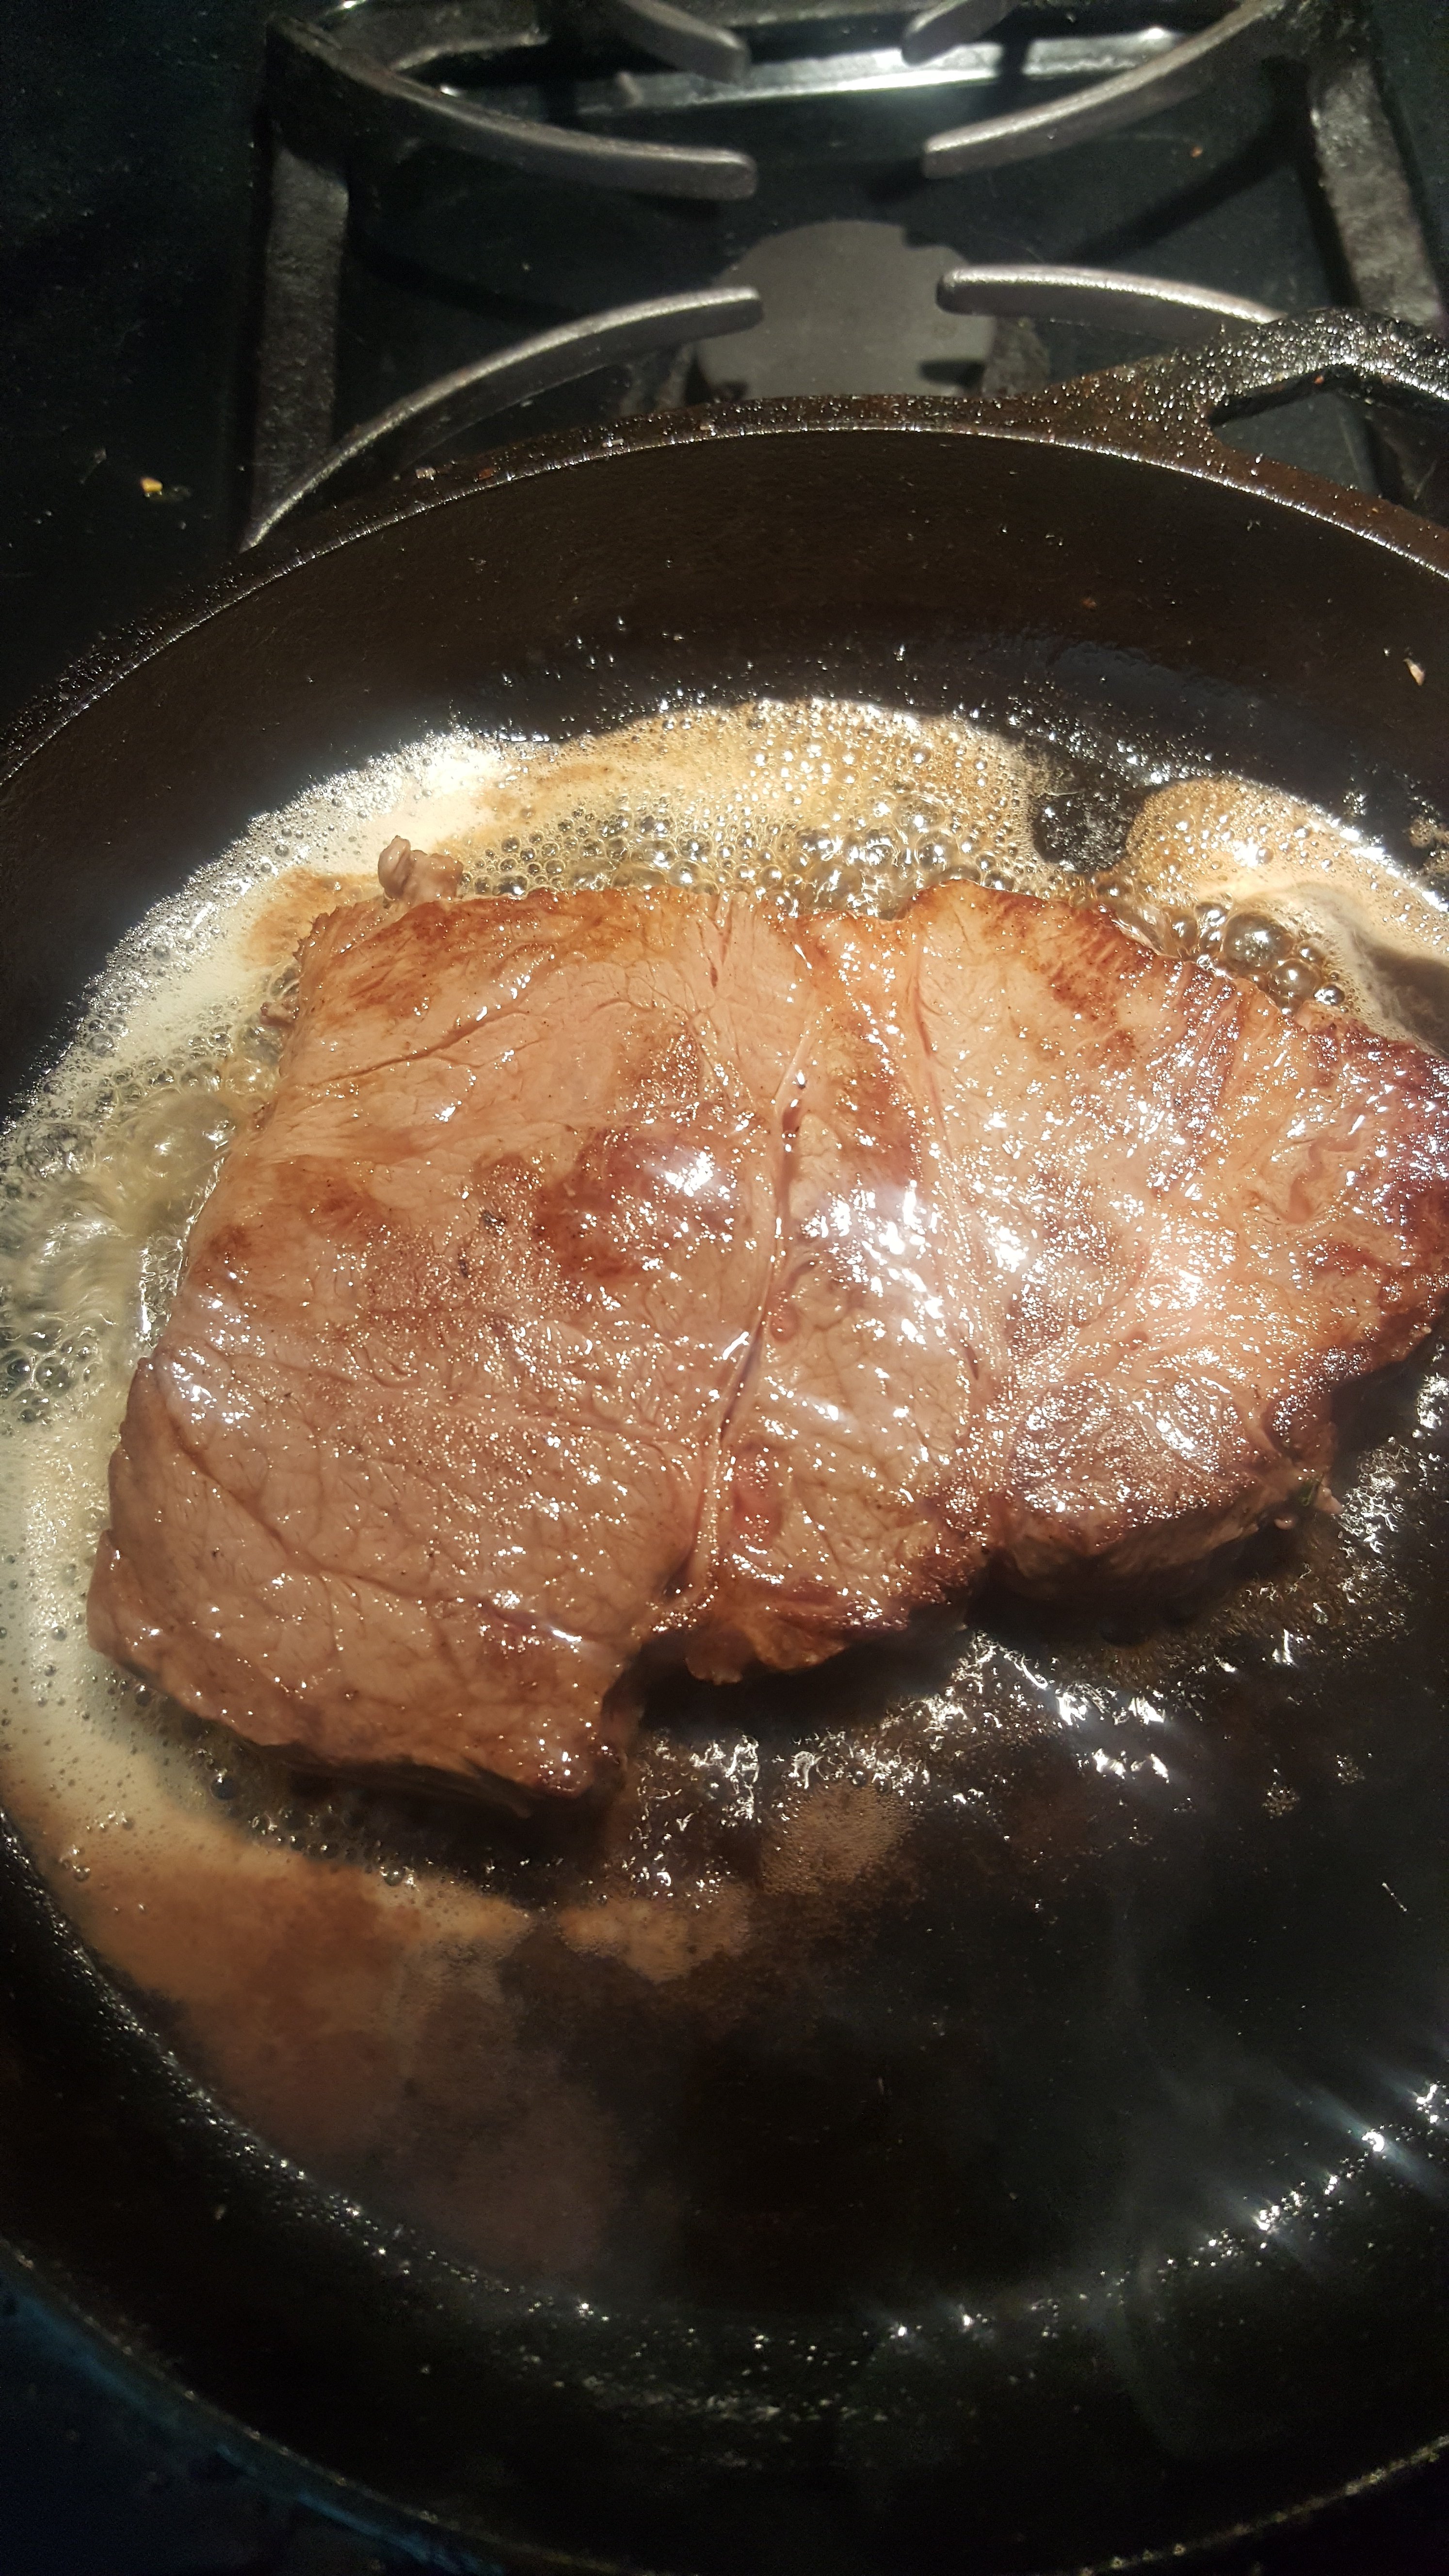
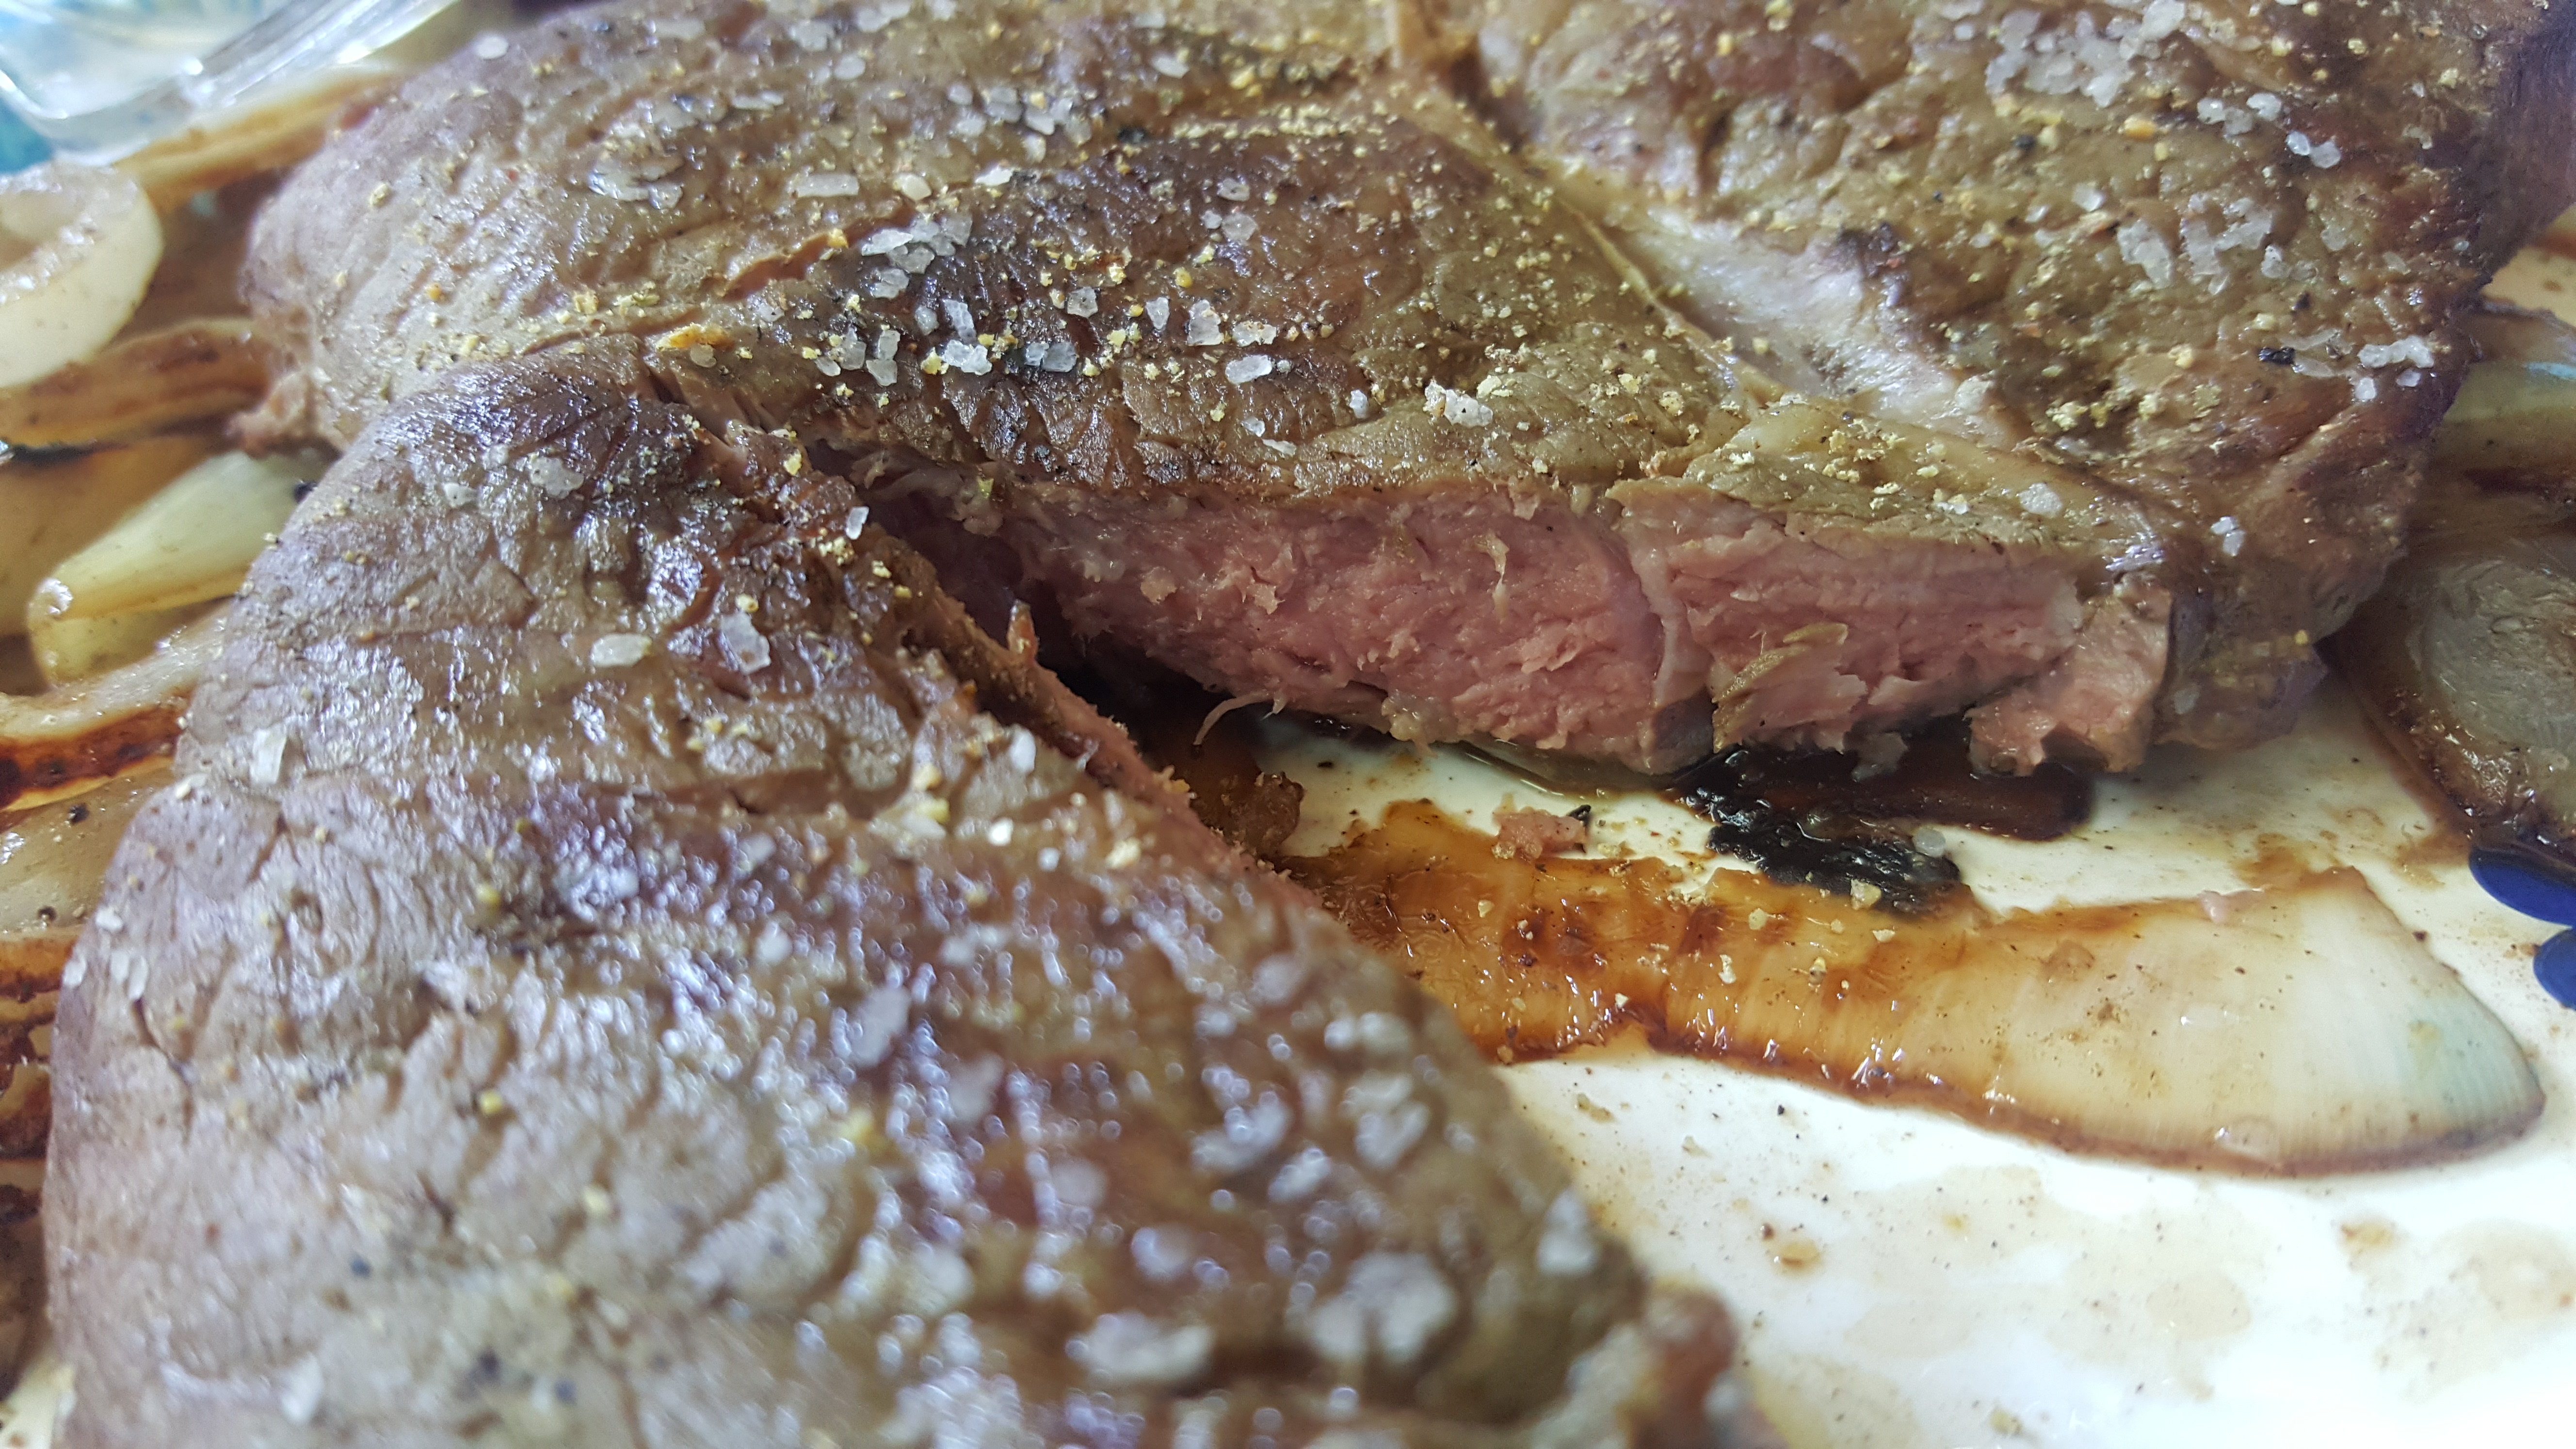
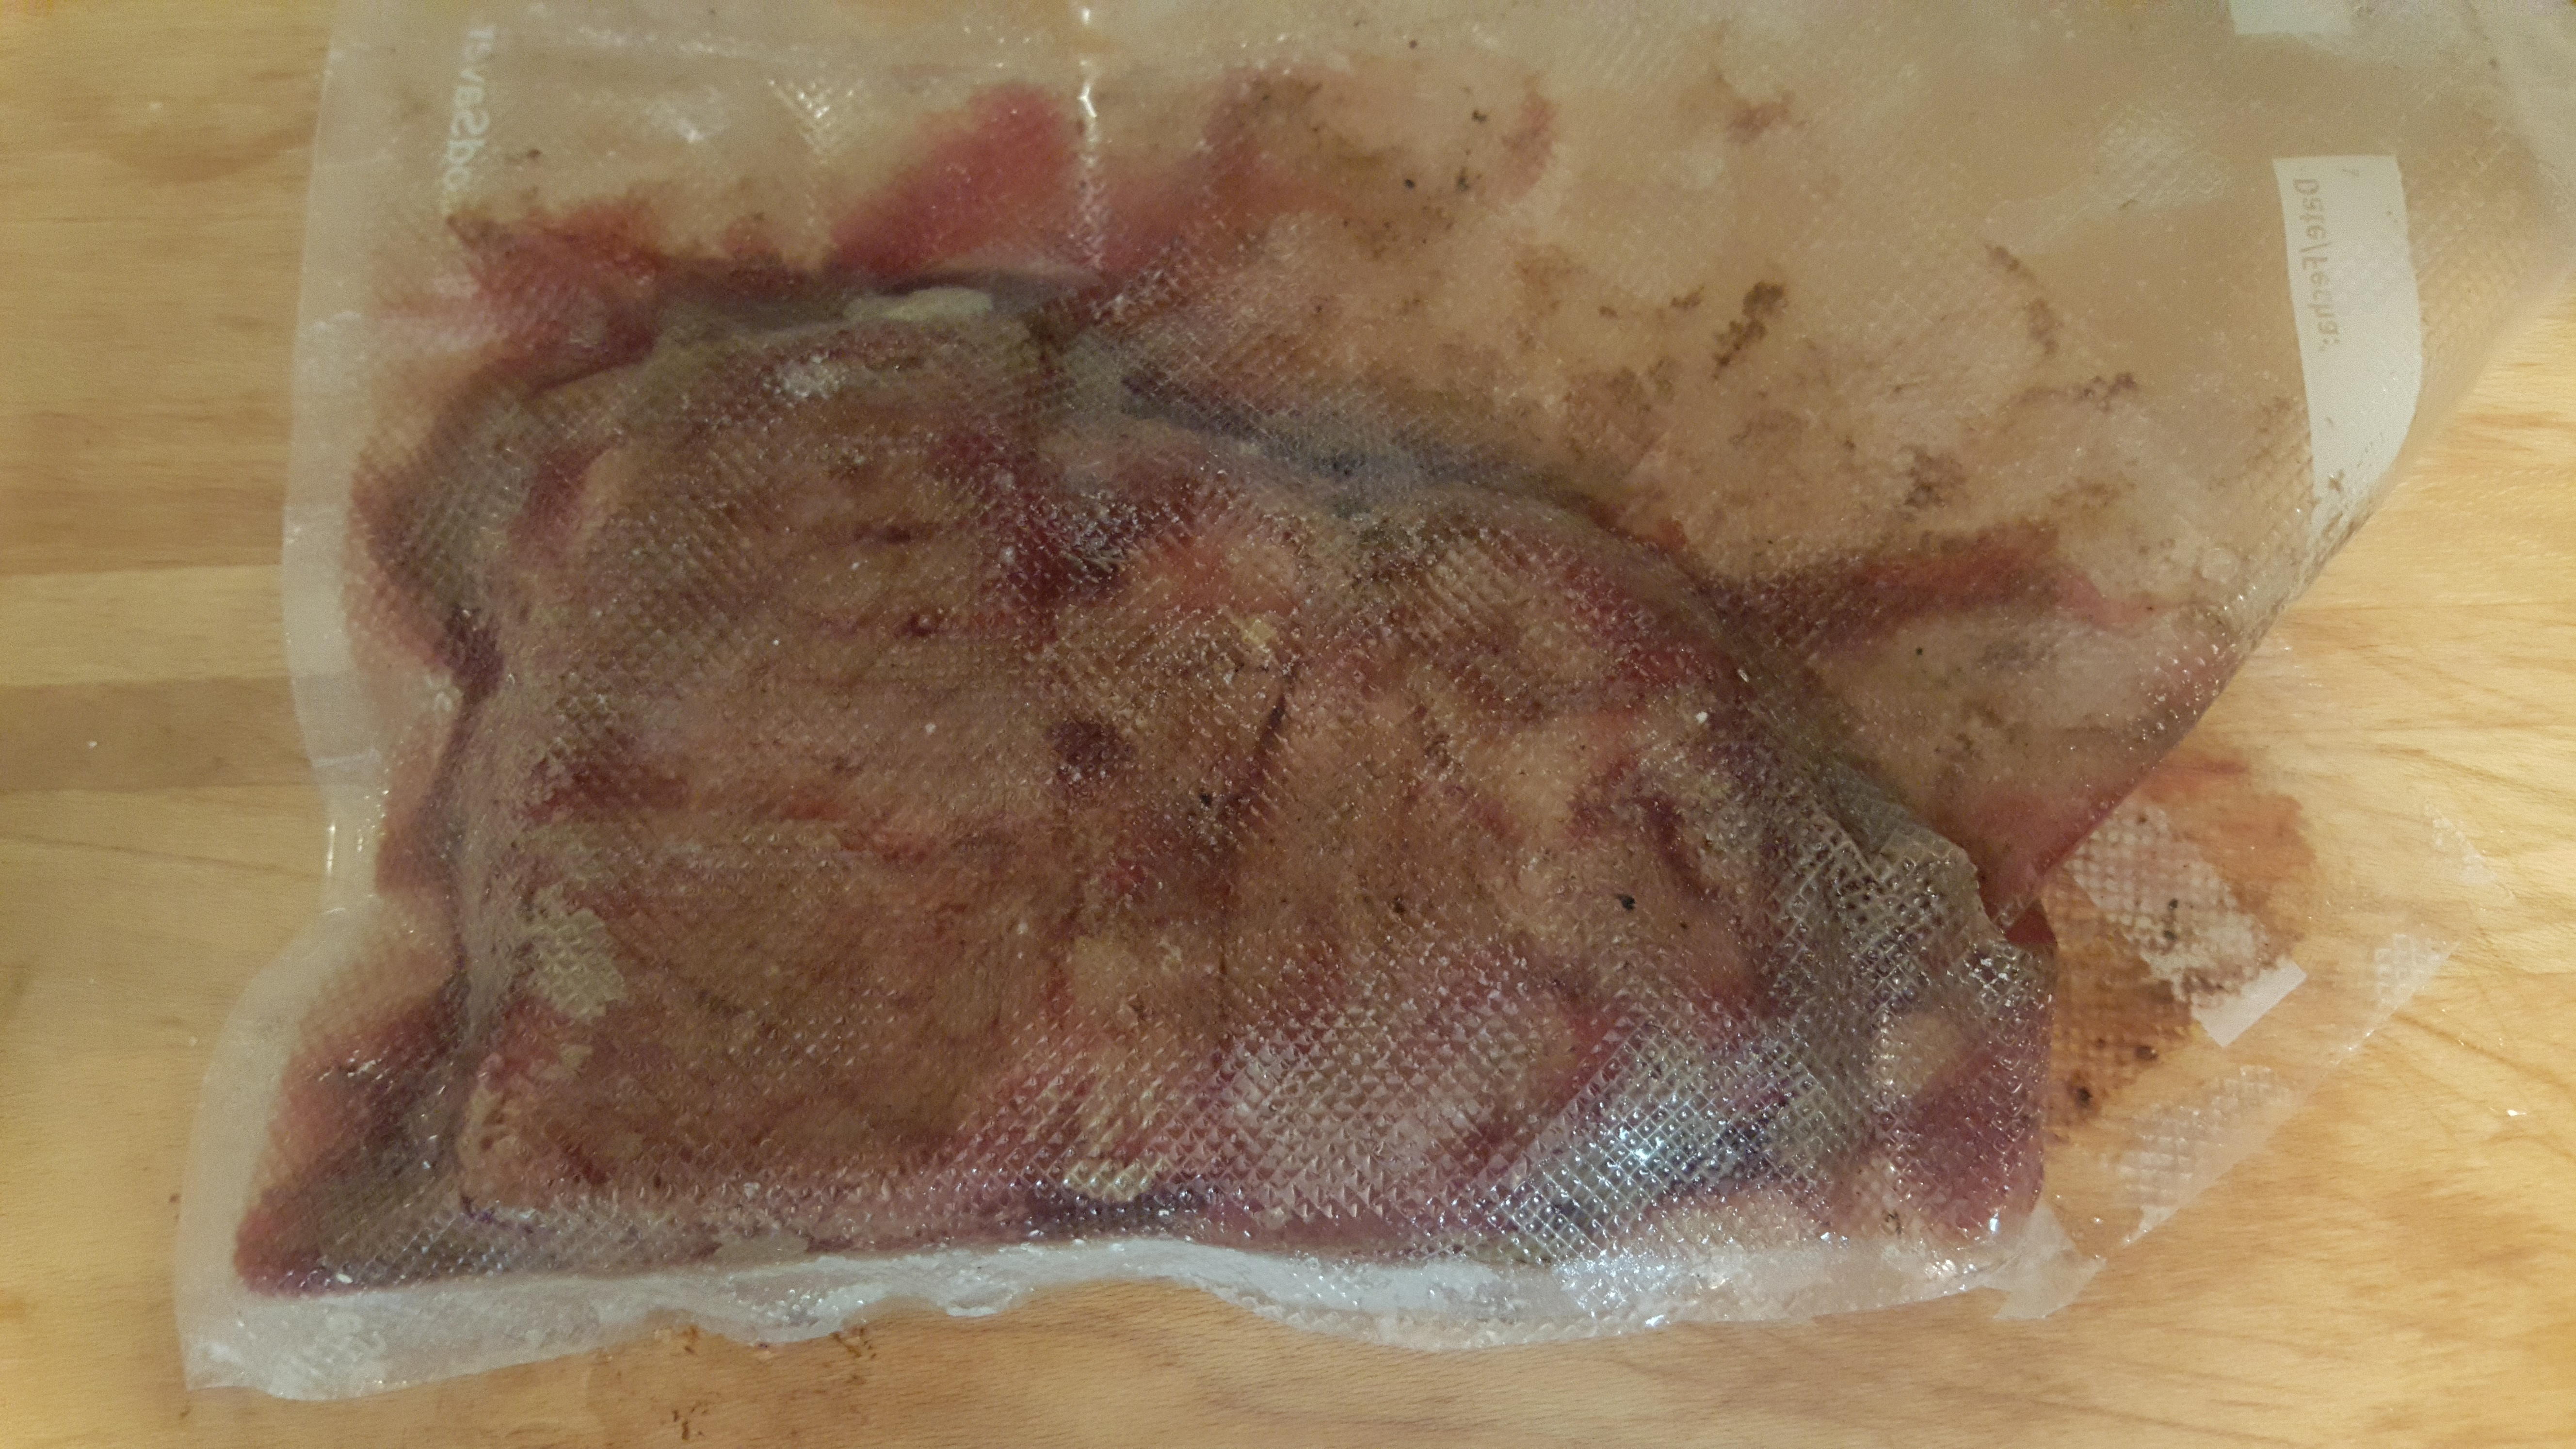
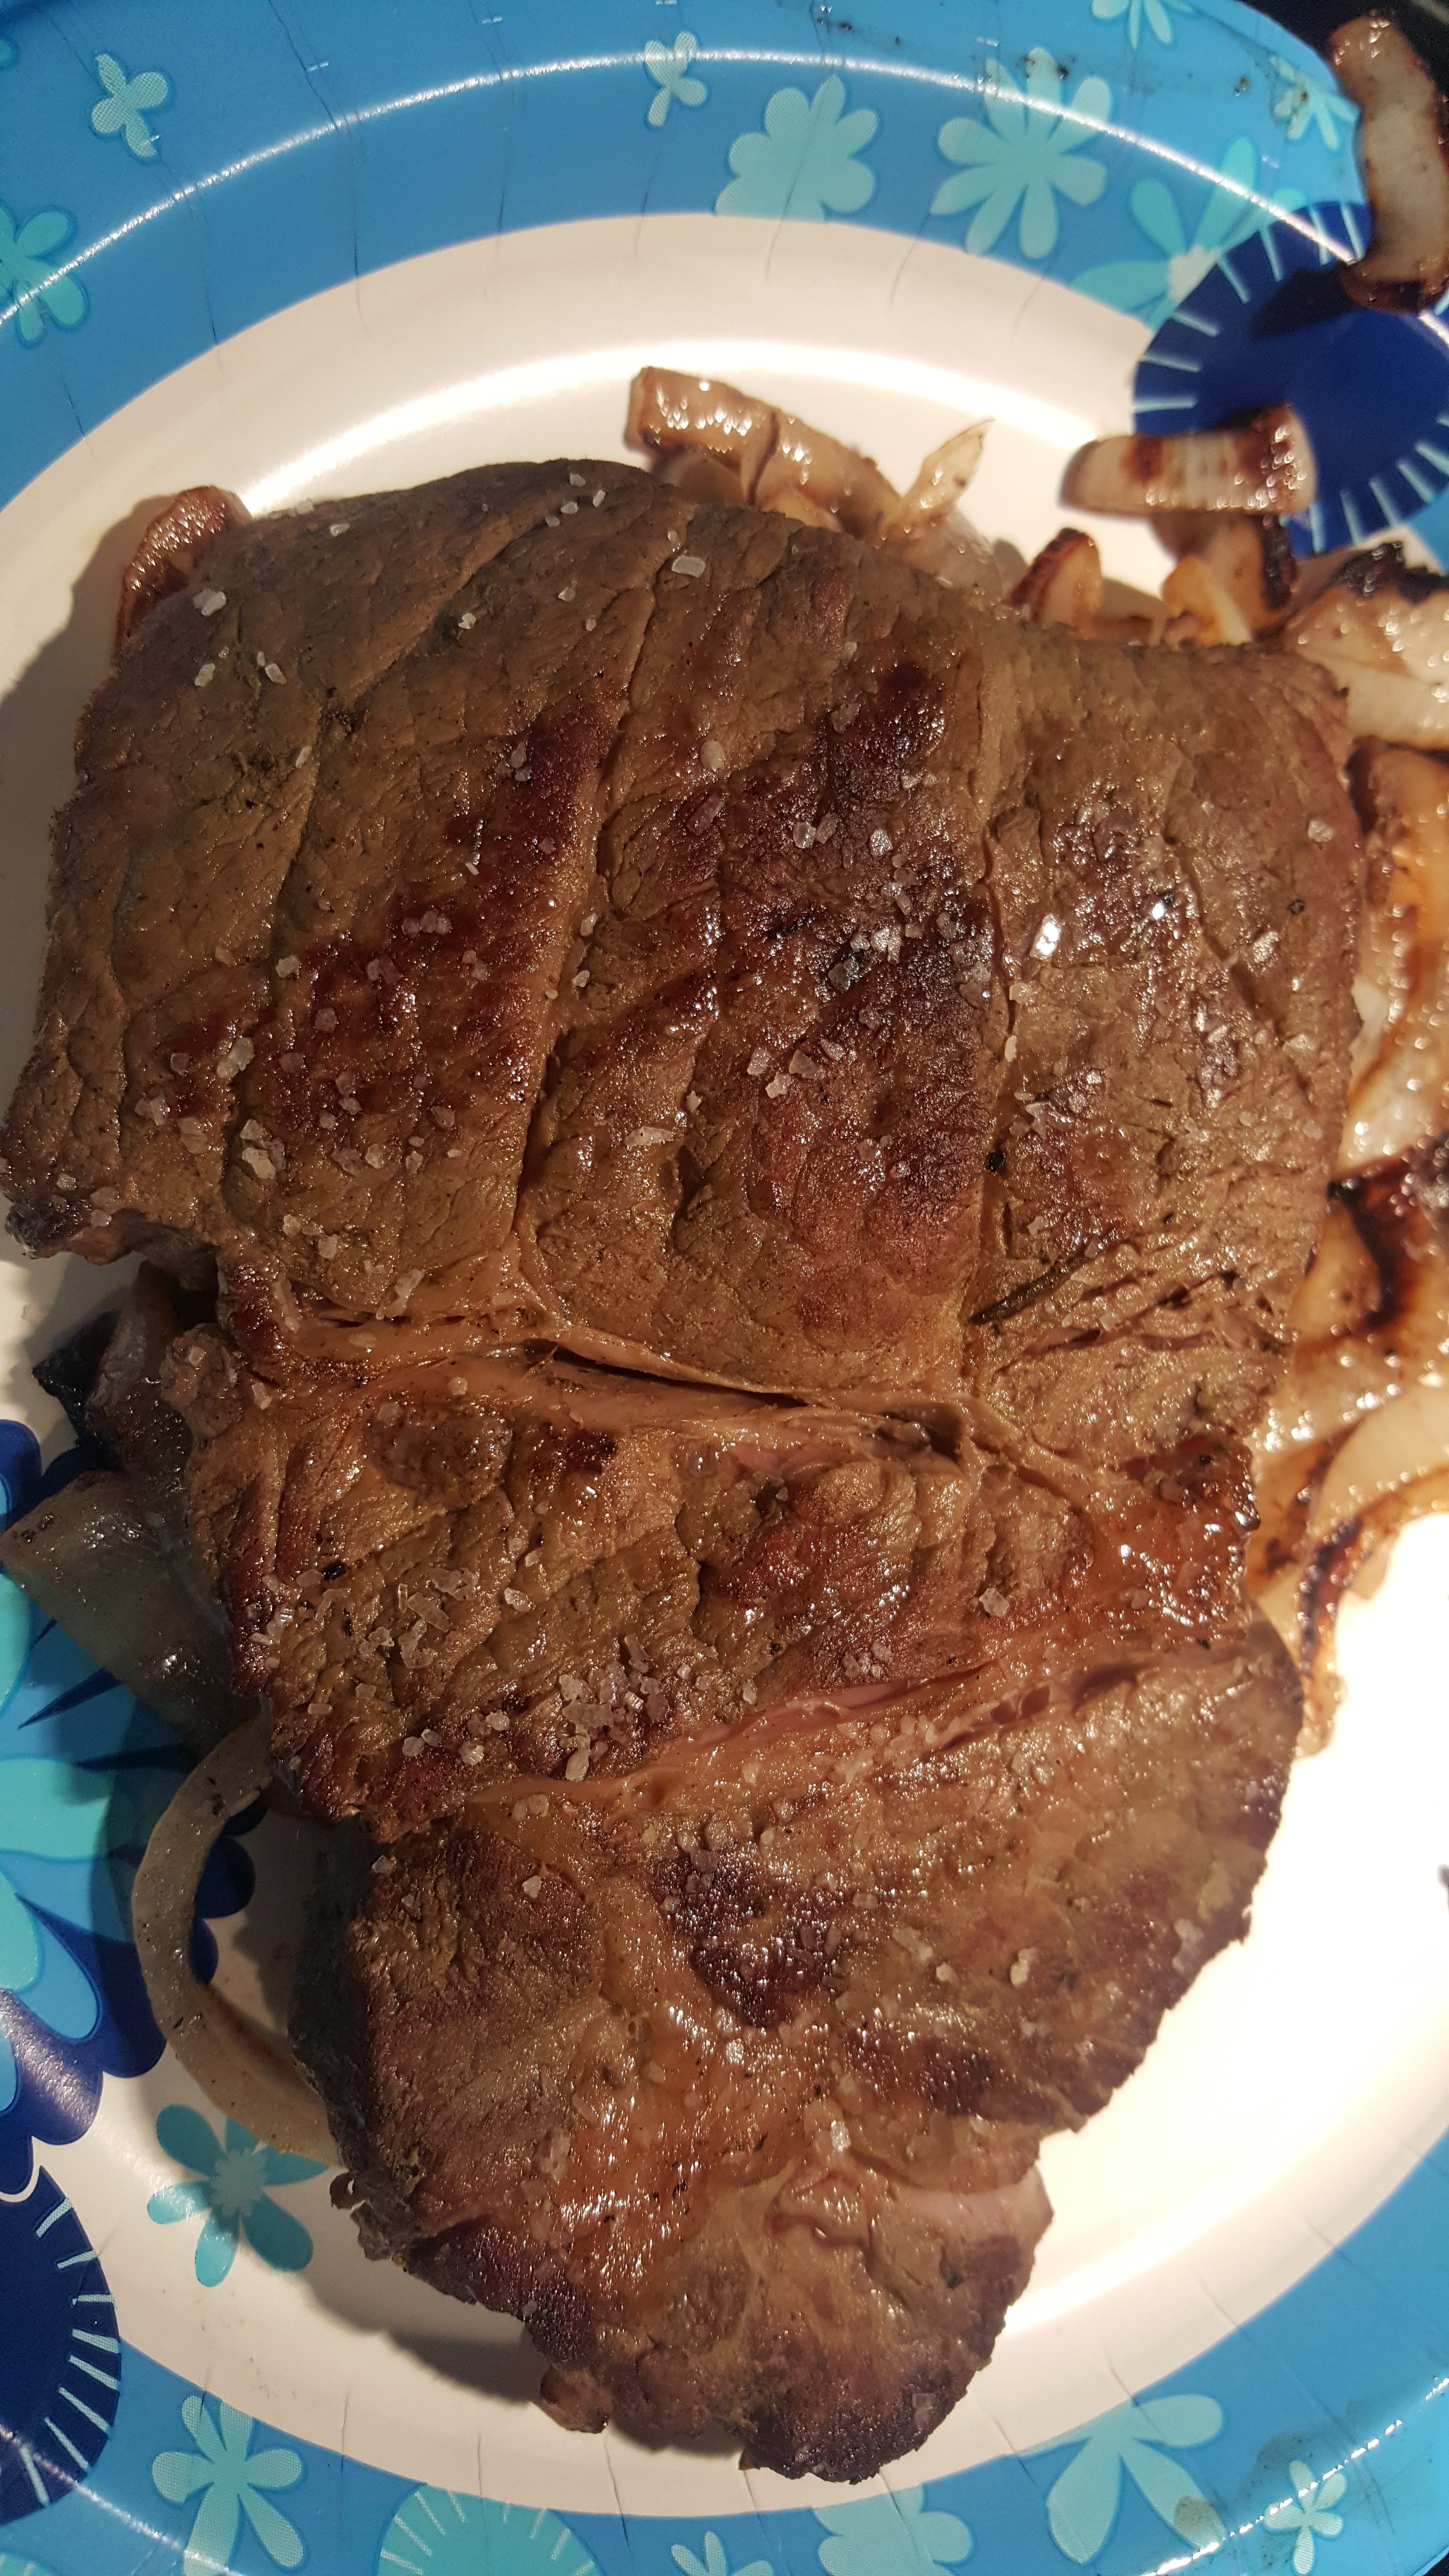
Once the 36 hours is up, I cut the bag open and drain all the liquid out. At this point, the steak does not look very appetizing as it has cooked in its own juices for 36 hours and has also taken on the imprint of the vacuum back. Therefore, it is time to finish the steak back in the caster iron skillet! The first step of this is to wrap the steak in paper towels and make sure the outside is as dry as possible so that when you finish the steak, it caramelizes the meat further rather than steaming it. Get your skillet nice and hot. I also like to sprinkle a good part of kosher salt onto the skillet to bring out the flavors of the steak at this point. At this point it’s up to you, you can sear one side and serve it with that side up, or sear both sides. The important thing to remember is that the meat is already cooked, you want to use a hot skillet to lightly burn the outside of your steak and get it off the skillet before it starts to cook through.
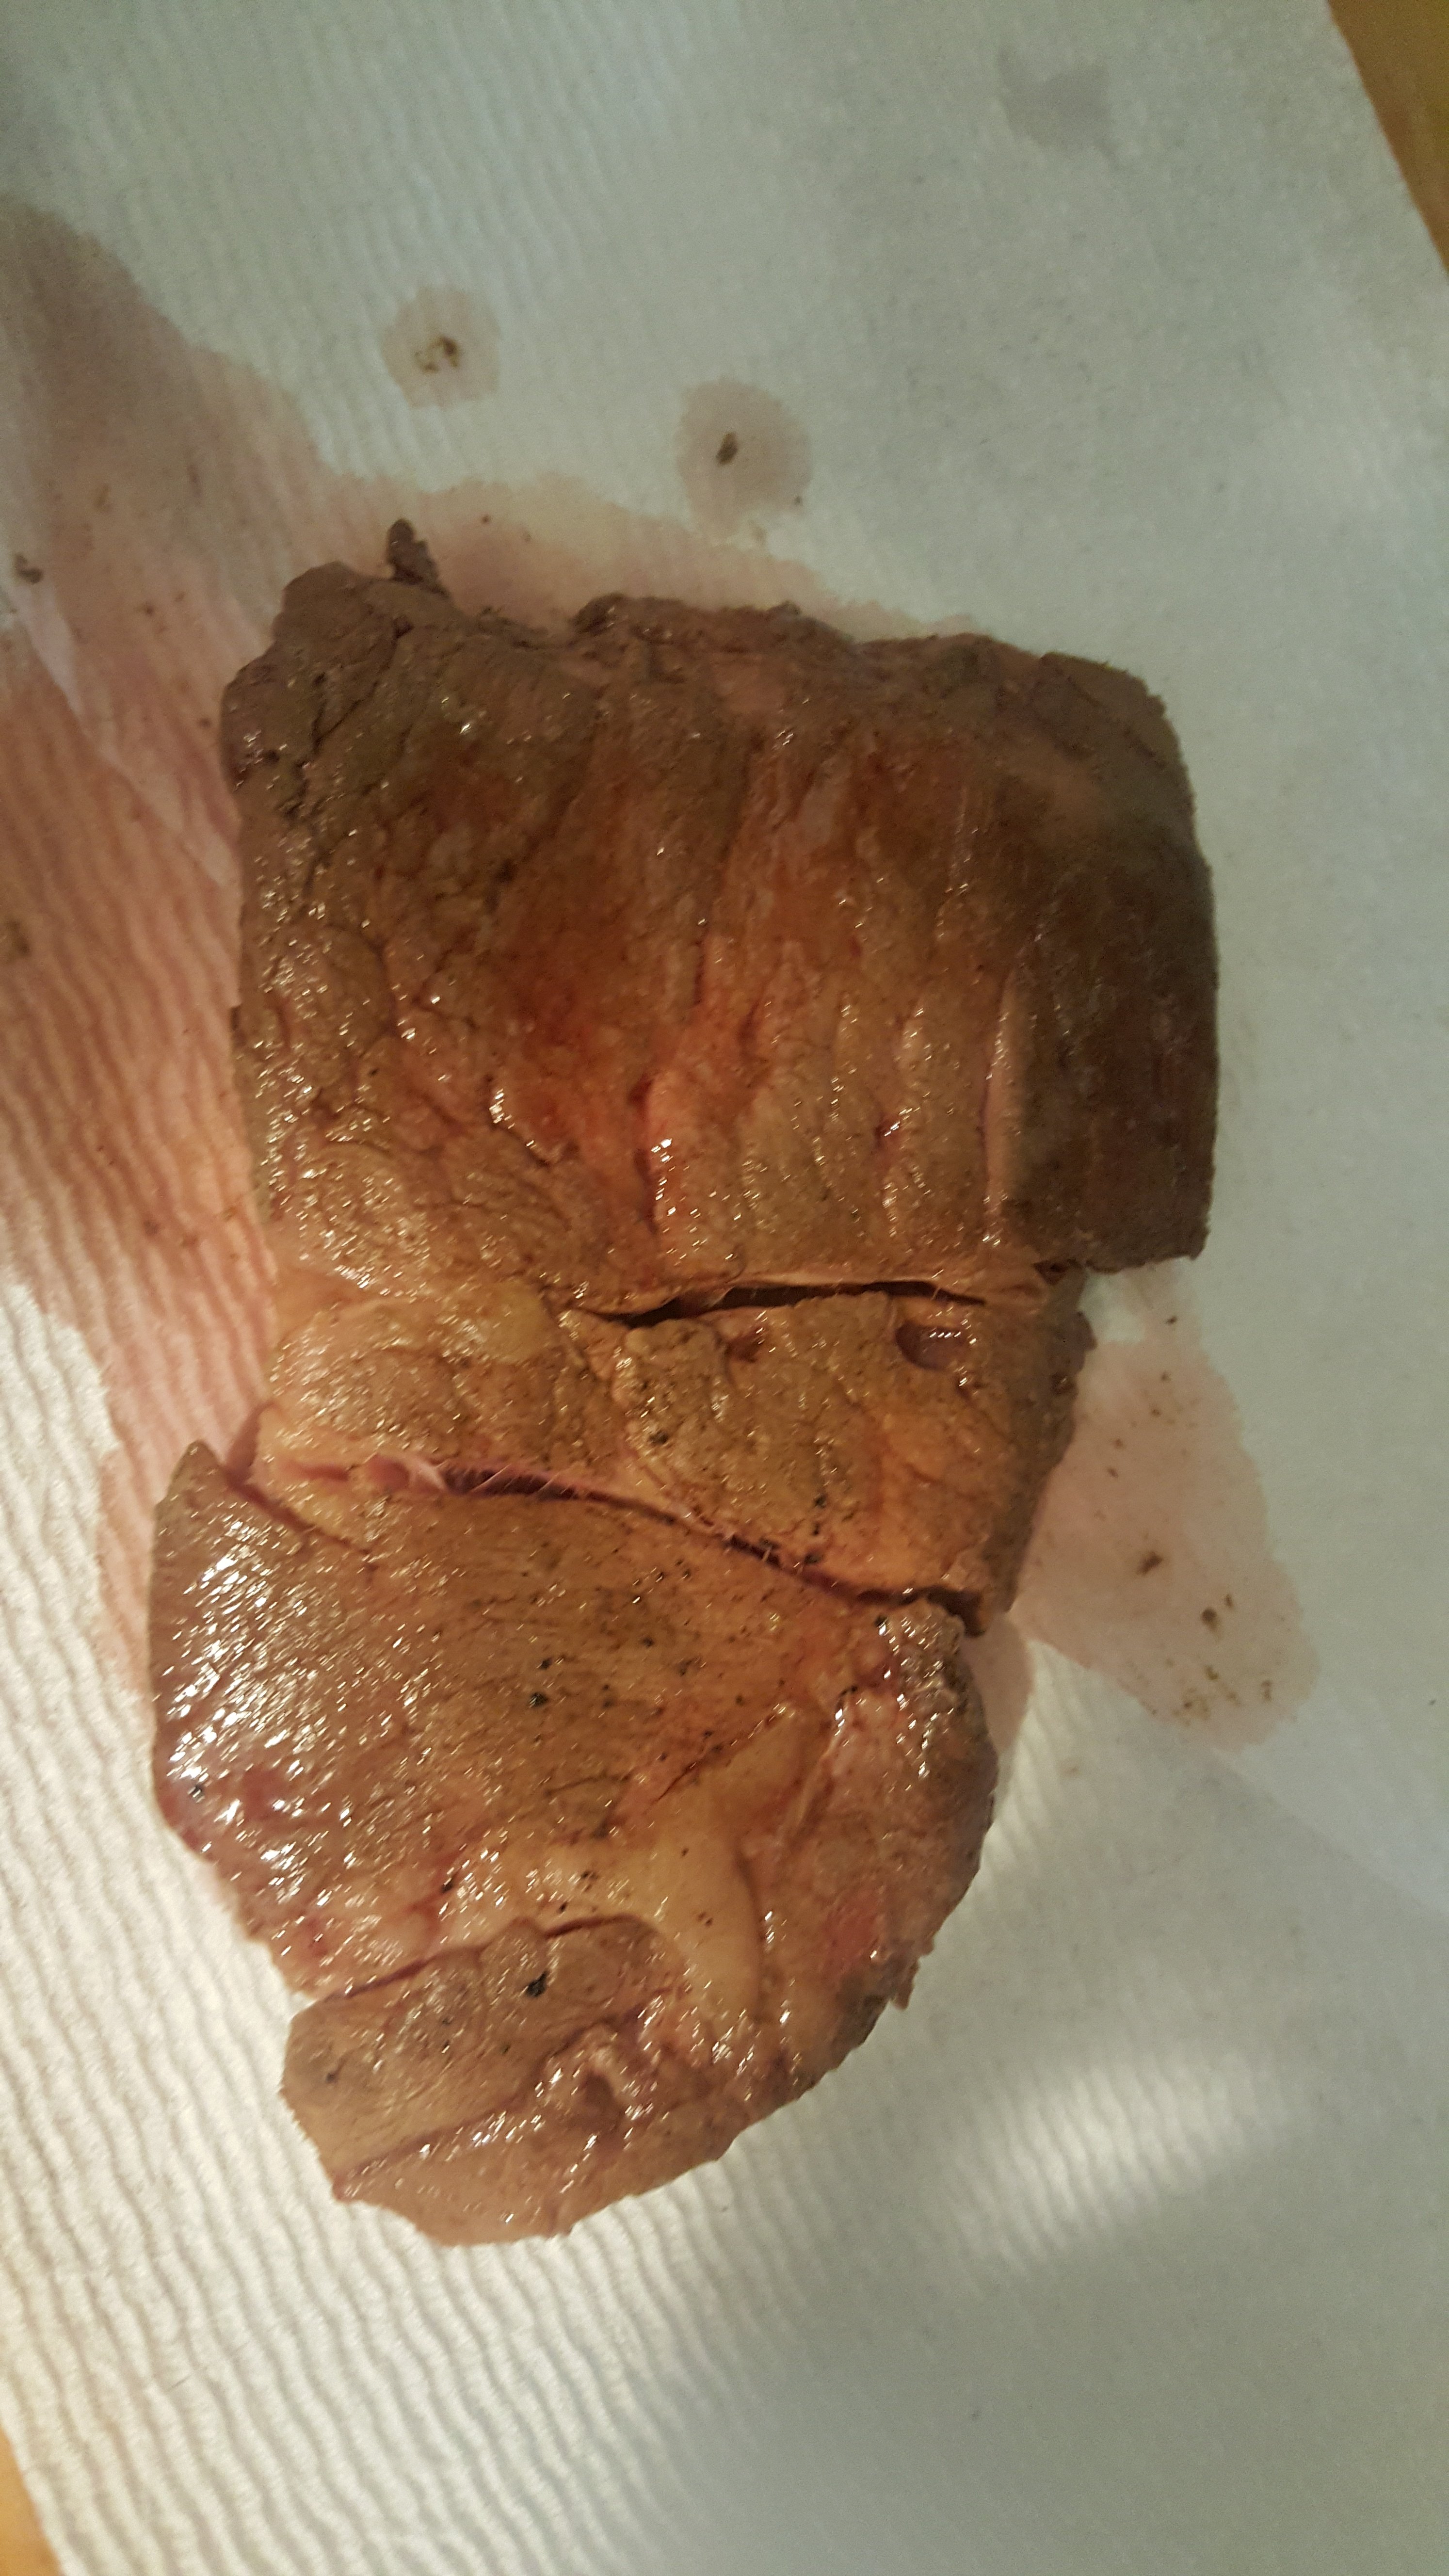
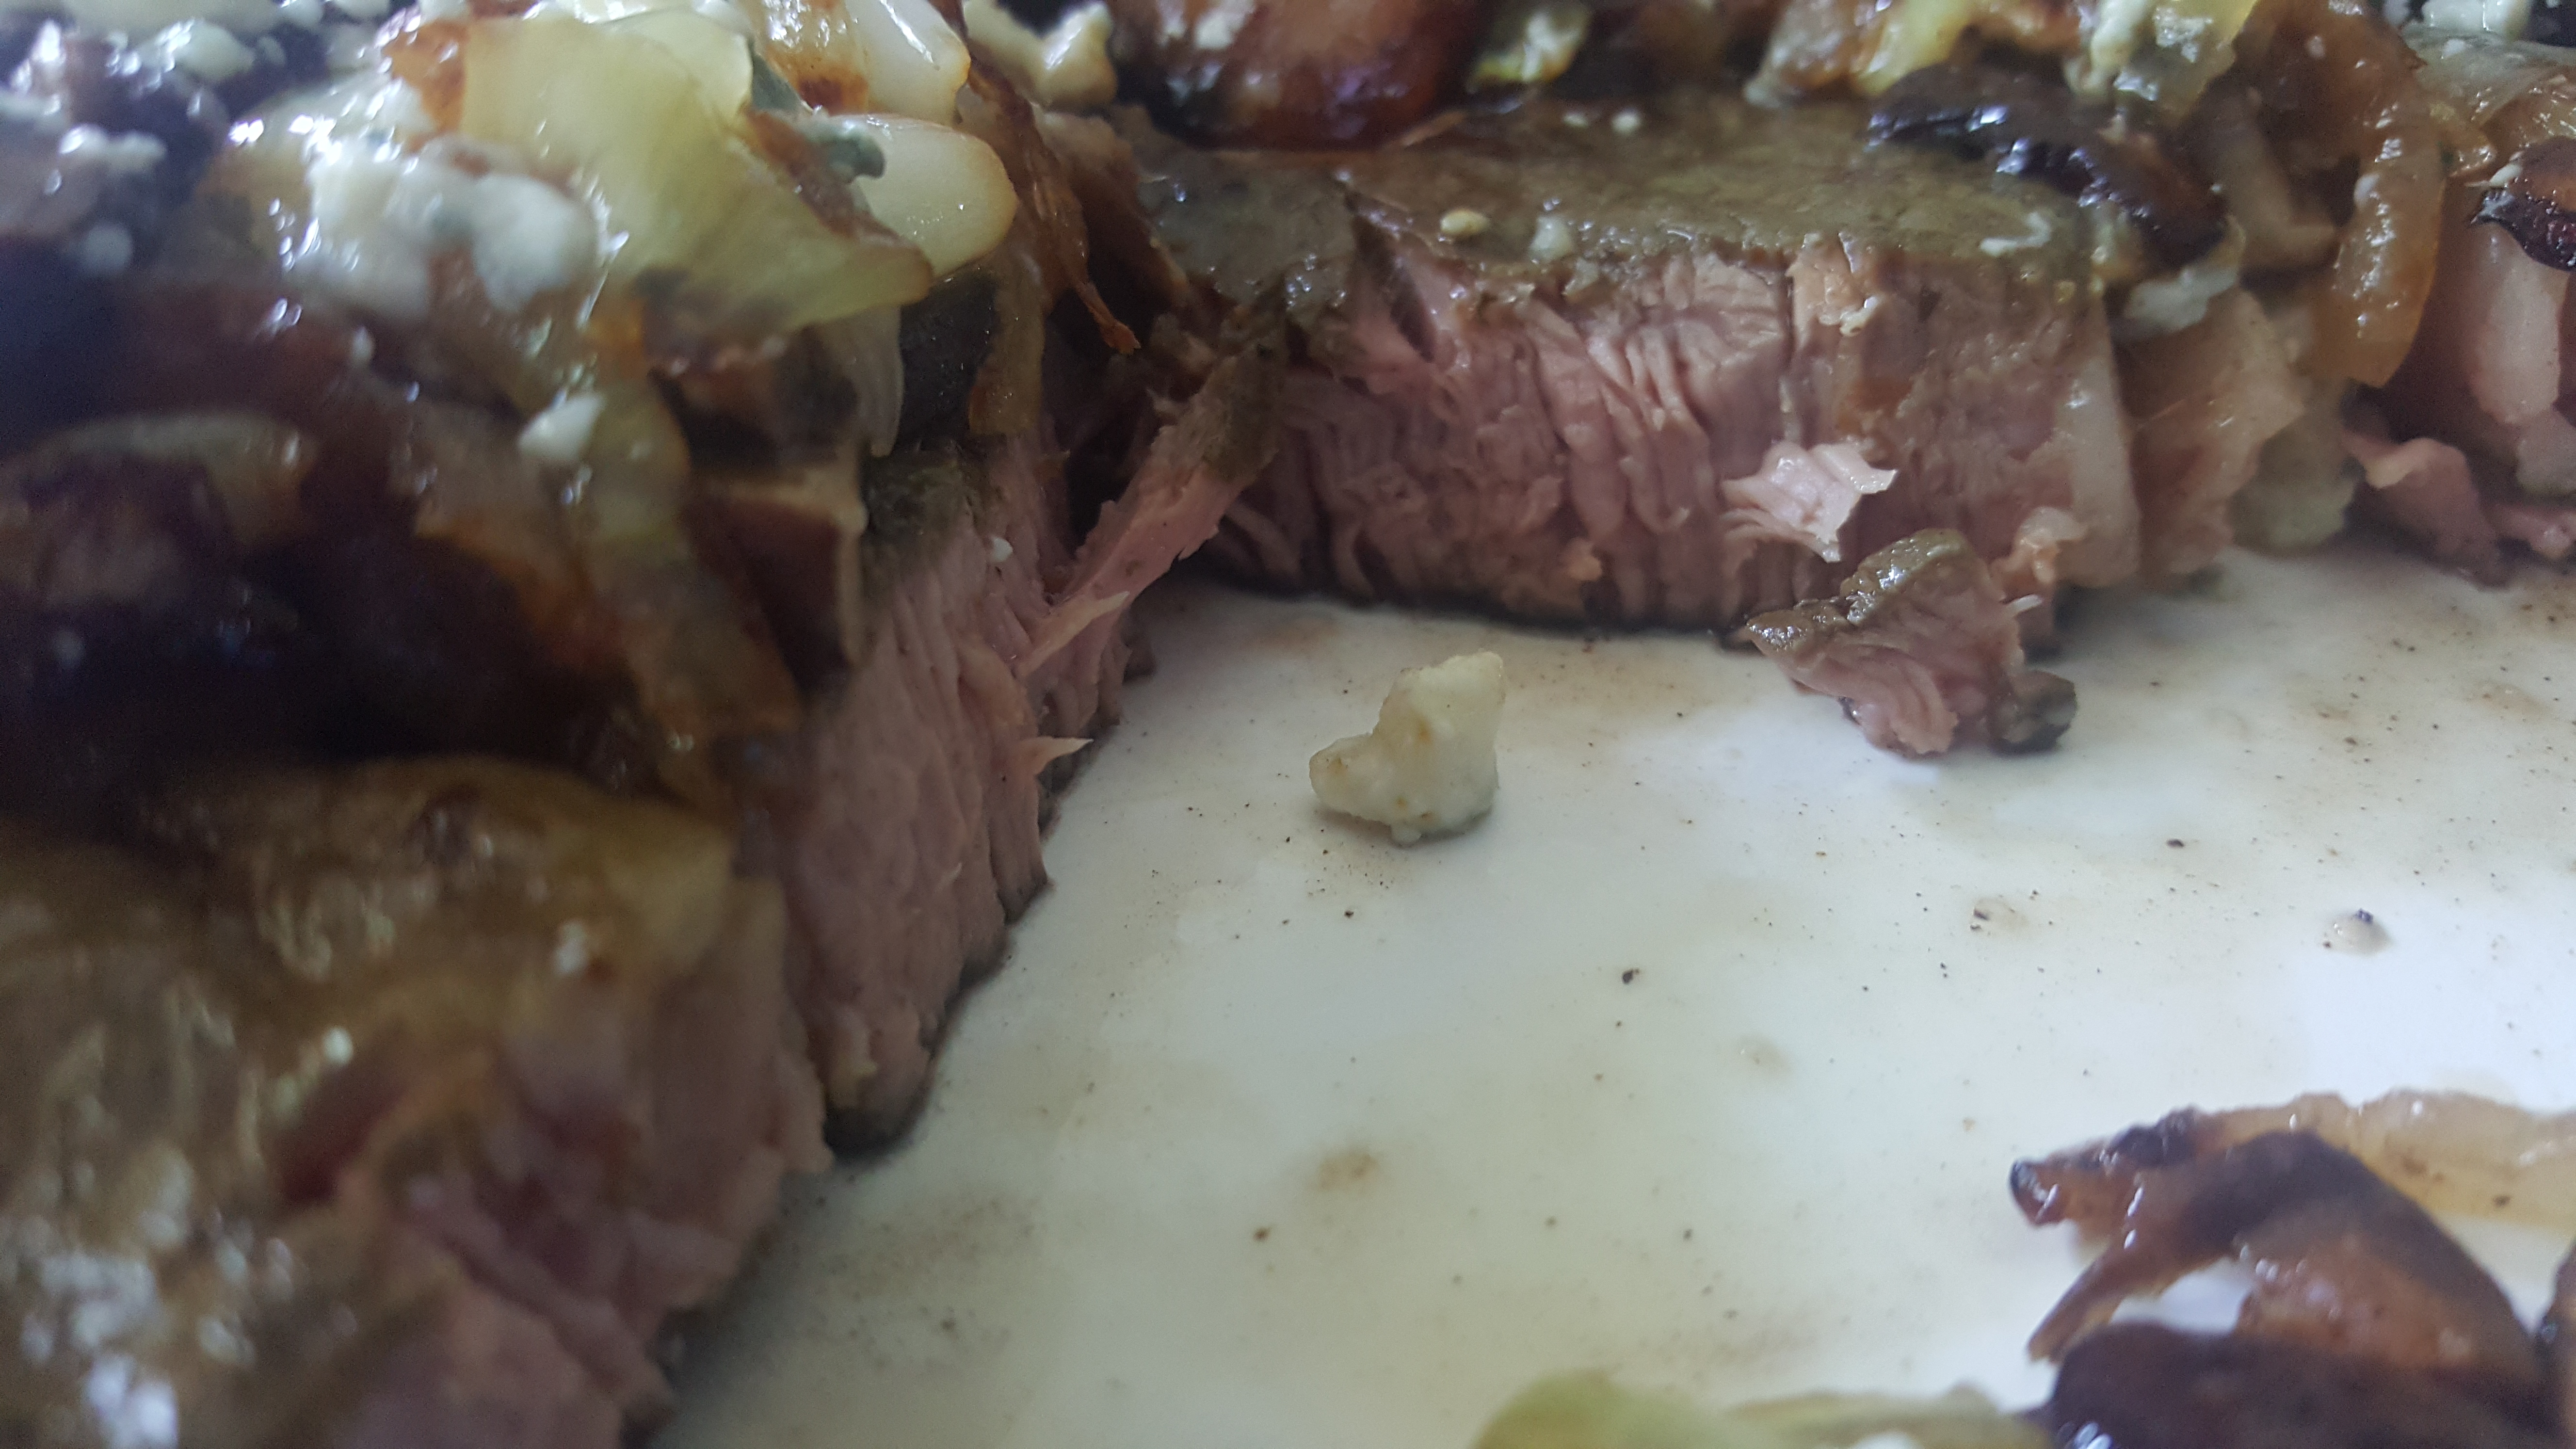
The results are amazing. The steak is cooked to a perfect medium rare, as fork tender as any high-priced cut of steak, and dare I say even more flavorful than steaks I have paid $20+ for at the butcher. I will go one further and say these are among the best steaks I have ever had, and with results, you can reproduce every time! The key things to keep in mind for success are what type/cut meat it is you’re cooking, its thickness, and how well done you want it cooked will determine your time and temperature. If you remove it too soon, you risk it not being done or at least still being tough. It’s more forgiving to cook it too long, but eventually, this is detrimental as well, as the longer you cook it the drier your steak will be and the more it will break down, eventually you will have a bag of meat mush. There are lots of websites out there that will help you calculate the time and temperature for your meal, or you can get a Joule and use the app that does it all for you. I have yet to try cooking game this way but all the key features make it ideal for the task, and trust me as soon as I try it I will share the results!
One other thing to note, I have gotten a few people asking me about the cost to run the immersion cooker for 36 hours at a time, it is a 1,000watt device so people are concerned my $5 piece of steak is going to become a $15 piece of steak due to the electricity cost. Well, I hooked a kill-a-watt to the Joule at about 4 hours into my cook, and here are the results. Keep in mind, the Joule is capable of maintaining the temperature of 10 gallons worth of water, I cooked the steak in maybe 2 gallons, I also filled the pot with hot water from the tap which comes out at about 125F So the Joule only needs to heat the water 6 more degrees. I also covered the pot with plastic wrap to minimize heat loss from evaporation. Some people take these steps even further by using an old cooler and cutting a hole in the top that is just the size of the immersion cooker. In total the steak was $5.14


Yeah, I have to admit, I was skeptical when you first told me about this and the first sample you gave me to try was not as robust in the flavor department as you described but the second one, WOW! was that good. Looking at this article is making hungry….. see ya!
That one I had brought over your house I goofed up, but the first one I did, and the roast came out great. In another month hopefully I’ll be cooking up some squirrel and deer with it.
[…] successful hunts and have some fried squirrel and country gravy. Also that it was time to test my theory that cooking game meat sous vide is the way to go. After doing some digging online to see if anyone else has tried cooking squirrel […]